
Popular Bake Offs and Reliable Baking Recipes
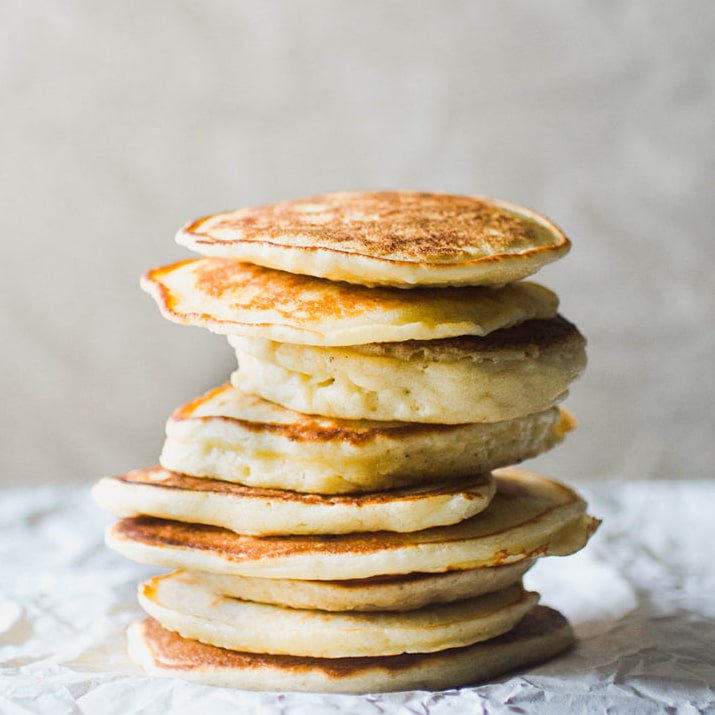
Ever wondered which of the millions of chocolate chip cookie recipes is TRULY the best? Me too.
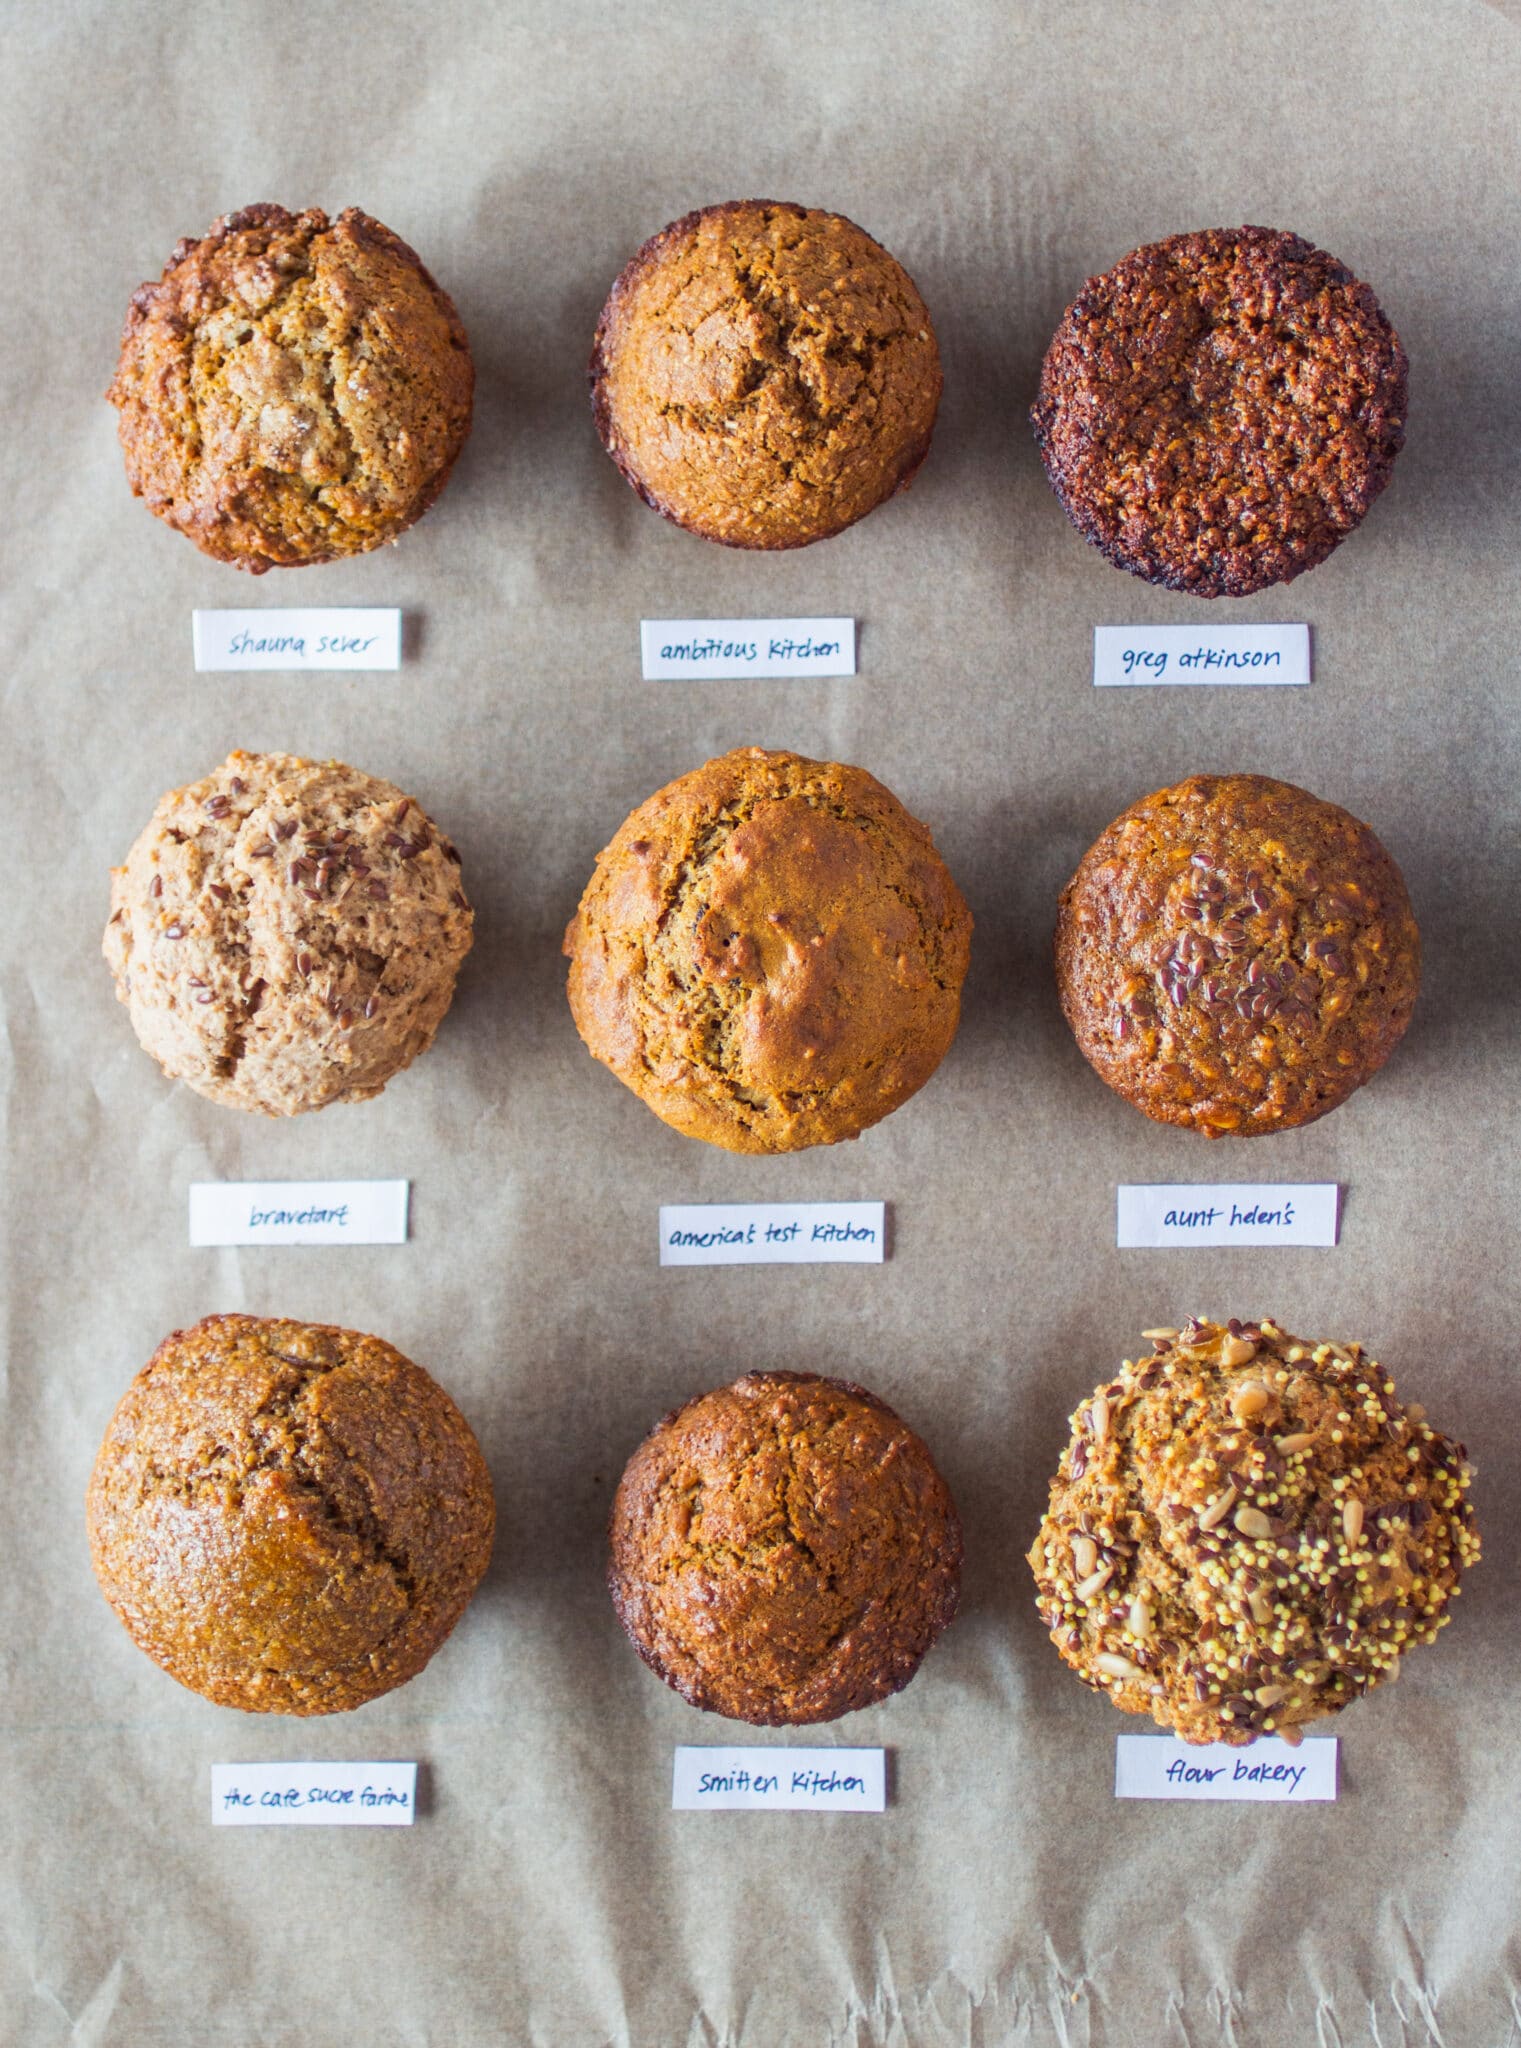
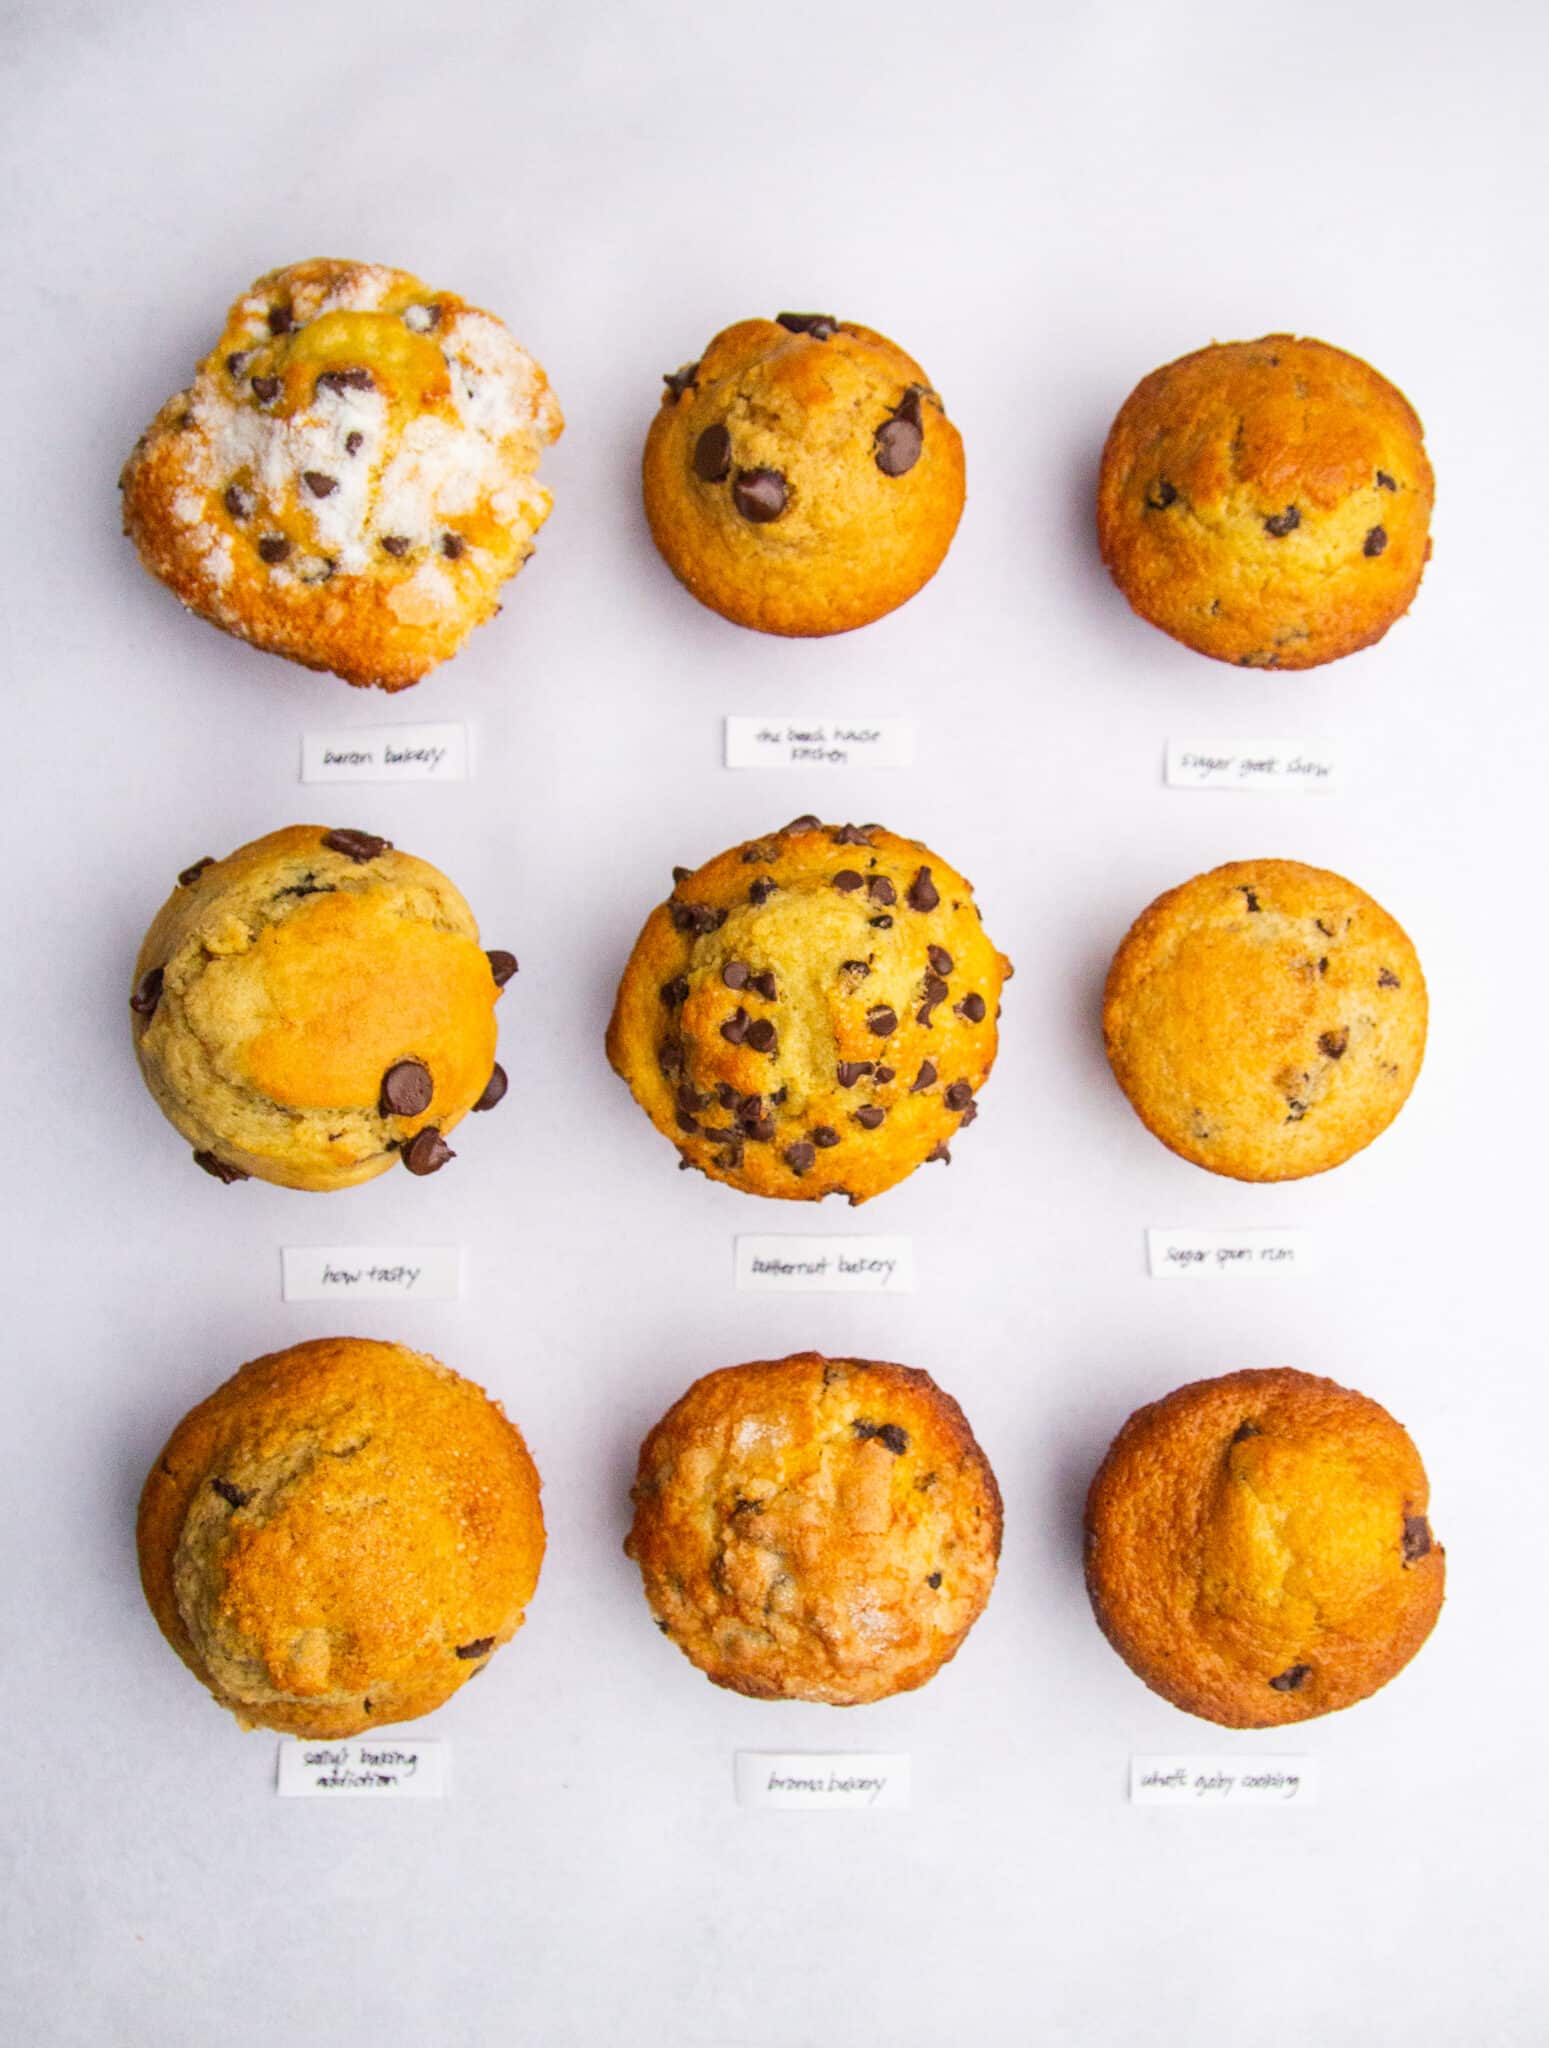
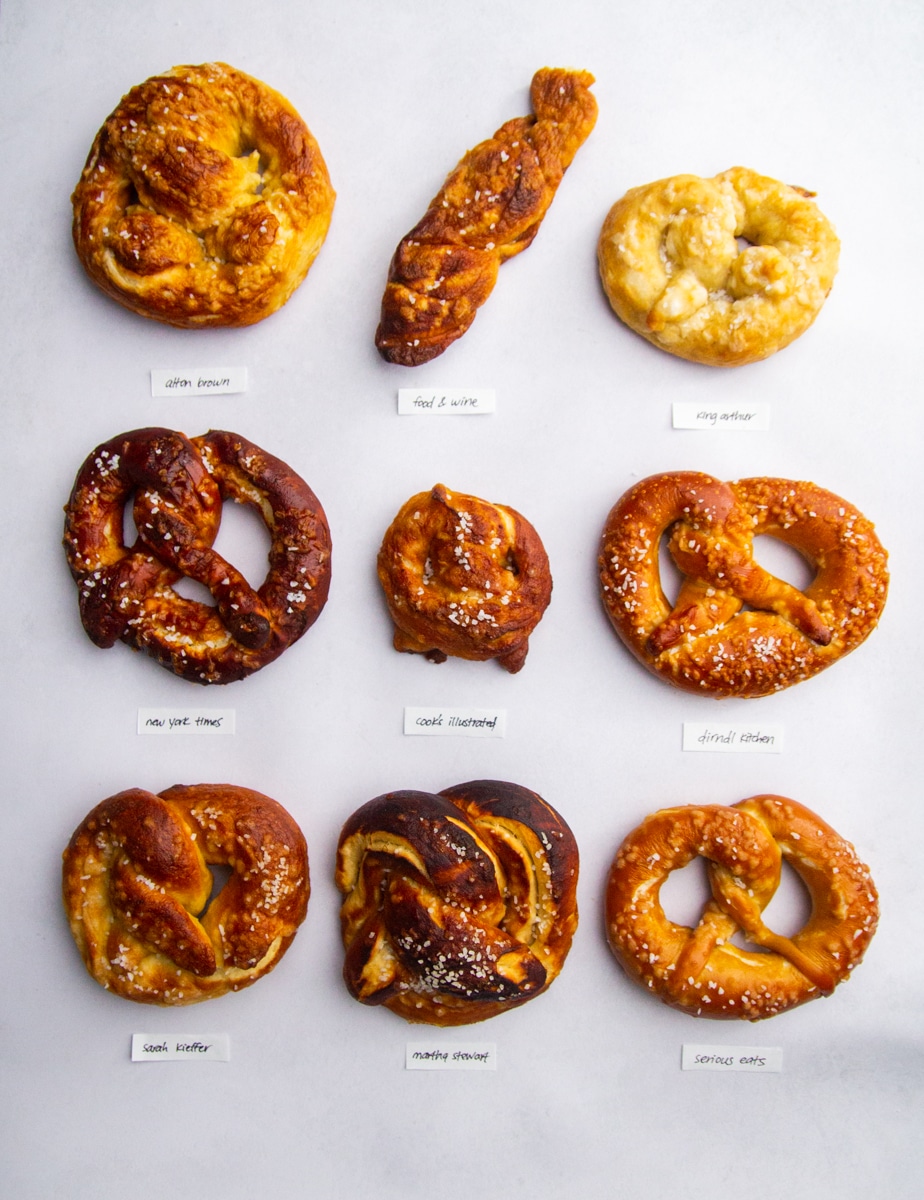
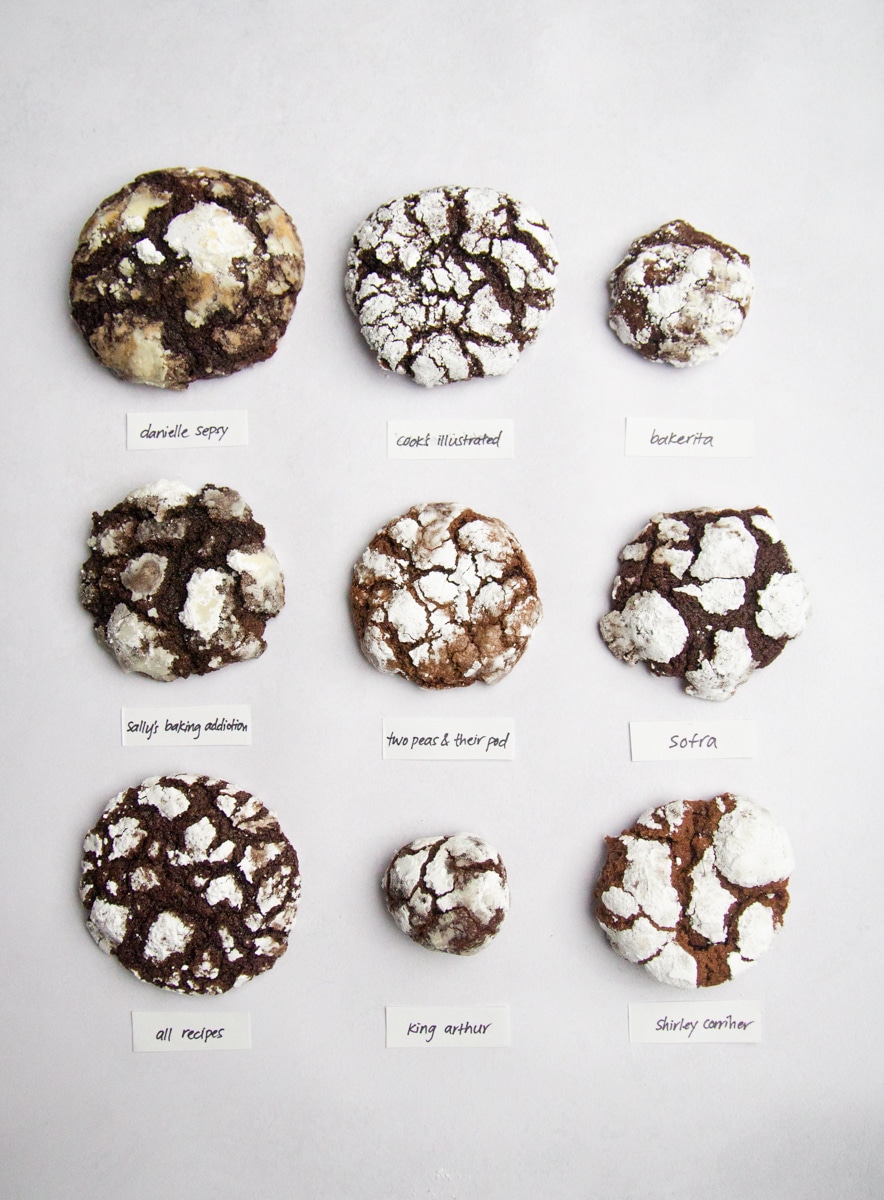
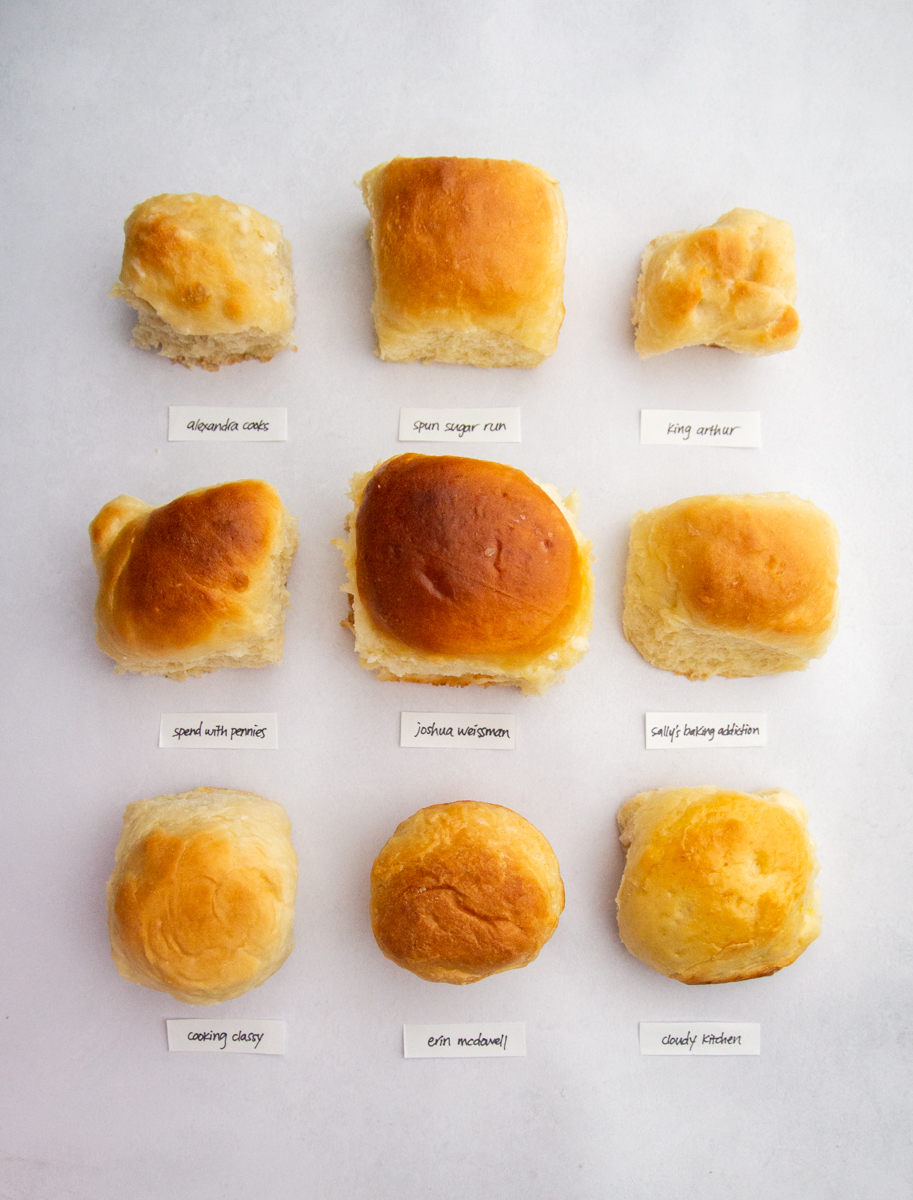
That’s what inspired the bake offs: I test popular internet recipes head-to-head, collect data from tasters and analyze the crowd favorites. I’ll also share some of my favorite, most reliable baking recipes that I love!


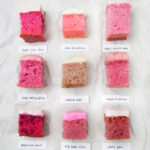


The Latest Bake Offs
See popular recipes compared and analyzed side-by-side in the bake off posts so you know exactly which recipe is right for you.
Hi, I’m Erika.
Baking recipe curator and tester.
I’m here to give you confidence that you are finding the recipe that’s right for you.
I test recipes side-by-side and use a data-driven approach to analyze and rank the “best” recipes and put it all together for you.
I also love to travel and share my experiences to help you plan your trips with ease!

The Latest Recipes
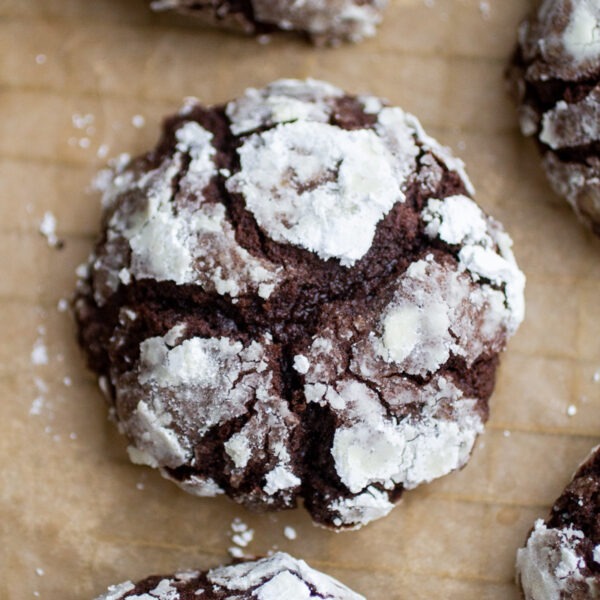
Dark Chocolate Crinkle Cookies (Levain-style!)
These chocolate crinkle cookies are thick and gooey in the style of the popular Levain Bakery! Created by Chef Danielle Sepsy of Hungry Gnome, these cookies are deeply chocolatey and sure to be a hit at any party. When I was searching for chocolate crinkle cookies for the crinkle cookie bake off, Chef Danielle submitted…
Read the post Dark Chocolate Crinkle Cookies (Levain-style!)

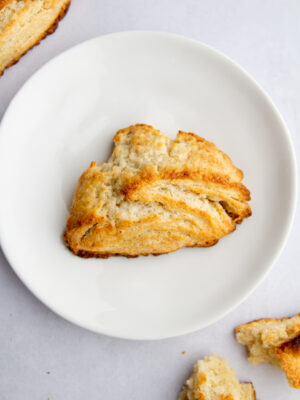
Easy Cheese Bread Rolls
These soft and savory yeasted cheese bread rolls are enriched with sugar, butter, milk powder and eggs for a tender bite! Filled with an aged gouda cheese and egg filling, these are some of the most unique rolls I’ve ever had. They take under 2 hours to rise and are the perfect addition to any…
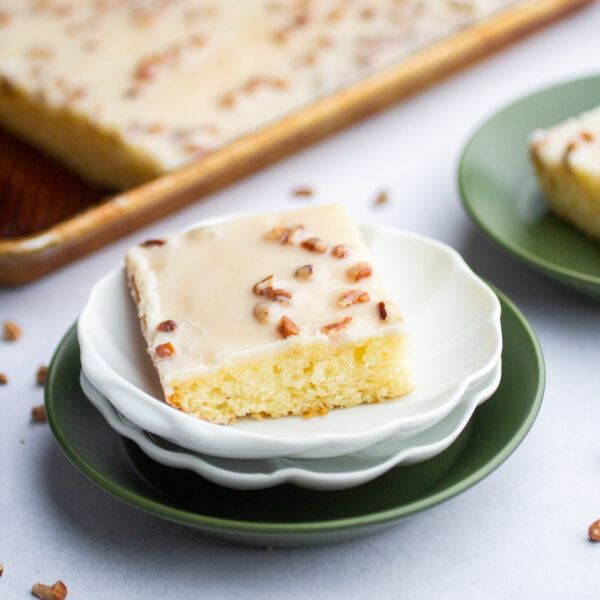
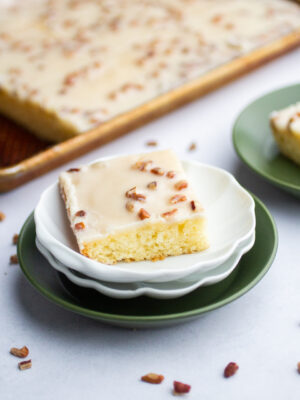
White Texas Sheet Cake
White Texas sheet cake is an almond-scented, plush vanilla sheet cake draped in an easy, pecan-studded icing that’s perfect for parties! Thank you Argo® Corn Starch and Karo® Syrup for sponsoring this post. Celebrate sweet moments together with Argo® and Karo®! Although I love a traditional chocolate Texas sheet cake, who can resist a buttery…
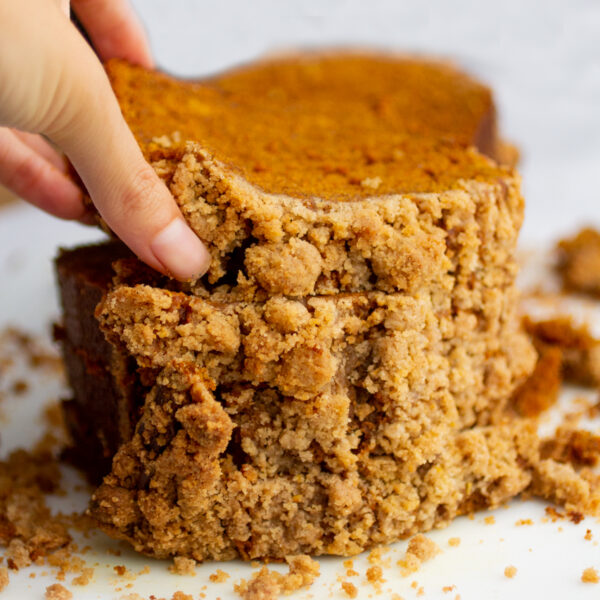
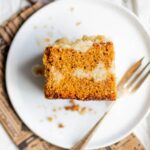
Easy Streusel Pumpkin Bread
This is my dream pumpkin bread recipe–soft, moist and perfectly spiced with a decadent crumbly streusel on top for contrast! It’s easy to make, no mixer needed! This post is sponsored by Imperial Sugar! I’ve used Imperial Sugar for years and I am thrilled to be partnering with them. Thank you for supporting the partners that…
