
This is my family recipe for homemade granola and it’s been my favorite for years! It’s a healthy granola recipe sweetened with honey and brown sugar for the best caramelized flavor and crisp texture–just add your choice of nuts and seeds.
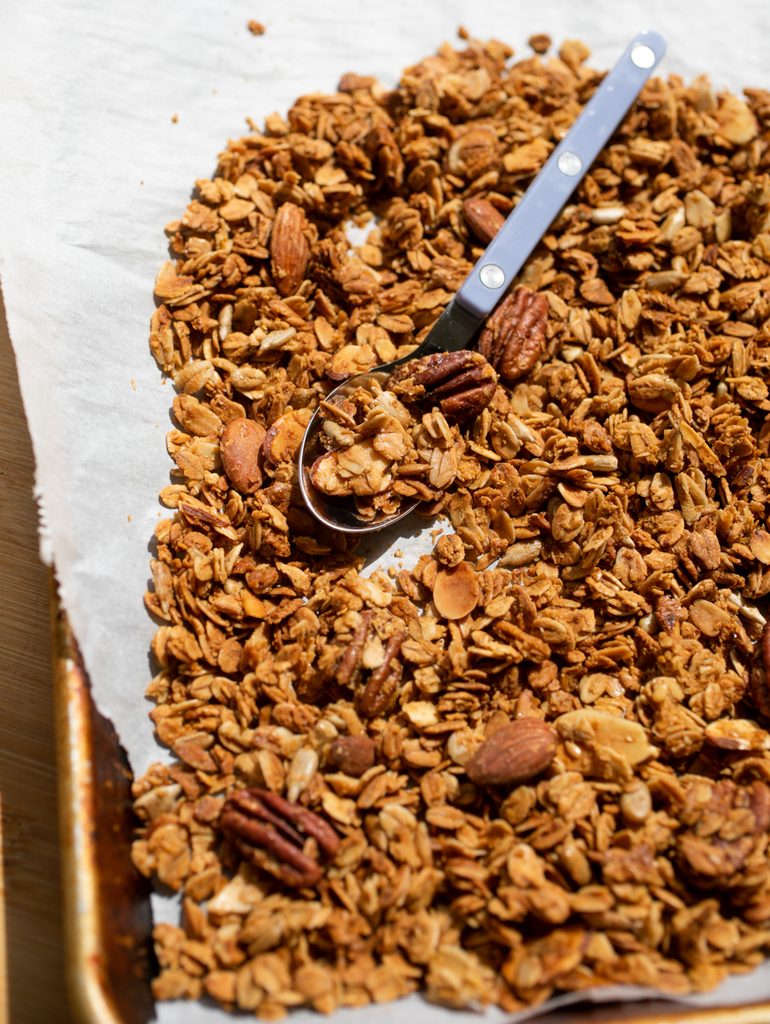
My mom originally got this granola recipe from a neighbor, and after years of making it, the original hand-written notecard is covered in our notes and additions. At its core, it’s an easy recipe with basic granola ingredients, but there are lots of potential customizations to make it your own.
The best part about homemade granola? You can decide exactly what nuts, seeds and fruit you want to add, how sweet to make it, and how long to bake it (for maximum crunch)! I’ve also included notes on my testing to make big clusters if you want your granola to clump up. This makes a BIG batch of granola (close to 12 cups). I love baking granola in bulk so I never have to revert to store-bought granola, but you can always cut this recipe in half!
How I landed on this granola recipe
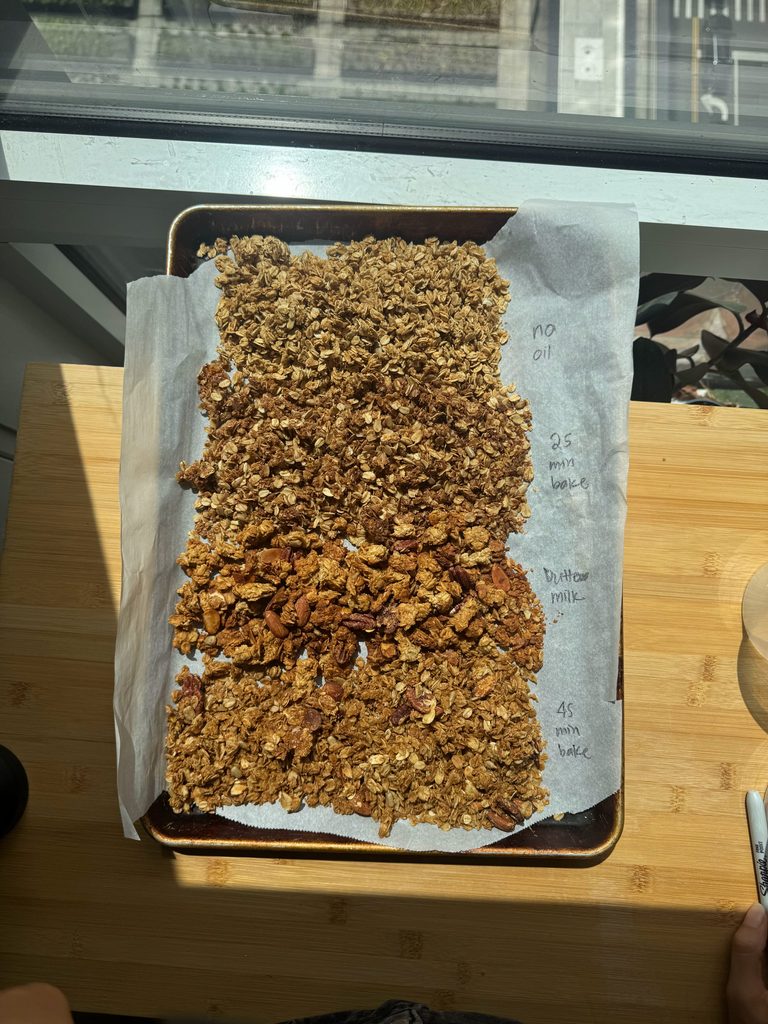
While I love my original family granola recipe, I wanted to test several things:
- Would the granola still be delicious with less or no oil?
- How to ensure the granola is SUPER crunchy and crisp every time (historically, some batches have sometimes turned out a little soft)
- How to make granola that clumps up
I tested several different versions of this granola:
- Test #1: The control – the original recipe (1/2 cup oil, 1:1 ratio of honey to brown sugar, 30 min bake time): This batch was crisp but not shatteringly CRUNCHY. I suspected the bake time was too short and that I could reduce the oil without sacrificing flavor or crunch with a longer bake time.
- Test #2: A slightly different recipe with no oil + a higher ratio of honey to brown sugar, 30 min bake time: This also didn’t have the crisp I wanted (again, I suspect the bake time was too short). I also didn’t love the flavor as much as the 1:1 ratio of honey to brown sugar.
- Test #3: Original family recipe with 6 tbsp oil + longer bake time (took out half the batch at 45 minutes, half at 60 minutes): This batch was just as tasty as the first batch, but with my desired crunch level! I couldn’t tell a big difference between 45 minutes vs. 60 minutes of baking.
- Test #4: Soaked buttermilk version for bigger clusters: Ingredient ratios were identical to Test #3 but I soaked the oats and flax in buttermilk per Serious Eats for 20 minutes before baking. This version needed to bake for closer to 80 minutes to get dry enough that I felt confident it would crisp up as it cooled. This batch was FULL of satisfying chunks, but I found the flavor surprisingly lacking compared to test #3.
- Test #5: Added flour for clusters: Ingredient ratios were identical to Test #3 but I added 1/4 cup of flour per King Arthur’s tip on adding flour for bigger clusters. This had big sheets of granola clumps, but also felt lacking in flavor compared to test #3. Overall, I preferred the cluster texture from Test #4.
At this point, I was feeling happy with Test #3. But I wanted to run just a few more tests…
- Test #6: Original family recipe with just 1/4 cup oil (half baked for 45 min, half for 60 min): This tasted just like Test #3, and once again the granola baked at 45 min was equally crunchy as the 60 min granola.
- Test #7: Original family recipe with no oil, 1 hour bake time: Feeling confident about reducing the oil, I tried a batch with NO oil whatsoever. This batch had to bake for longer to crisp up (granola taken out at 45 min remained a little soft), but the granola baked for the full hour and cooled completely was EXTREMELY crunchy. However, it had a harsher crunch that that I didn’t prefer.
- Test #8: Soaked buttermilk with no oil, 1 hour bake time: I gave the soaked buttermilk technique one more whirl and it actually crisped up well with no oil and the full 1 hour bake time! However, the flavor was still lacking–I think the buttermilk dilutes the sweetness and flavor of the seasonings.
Ultimately, I landed on Test #6 (baked for 45 min) as my final recipe. This had the best flavor and crunch to me, uses minimal oil and is a looser style of granola–but that’s honestly the kind I like when eating a yogurt bowl. (More on clumpy granola tests below.)
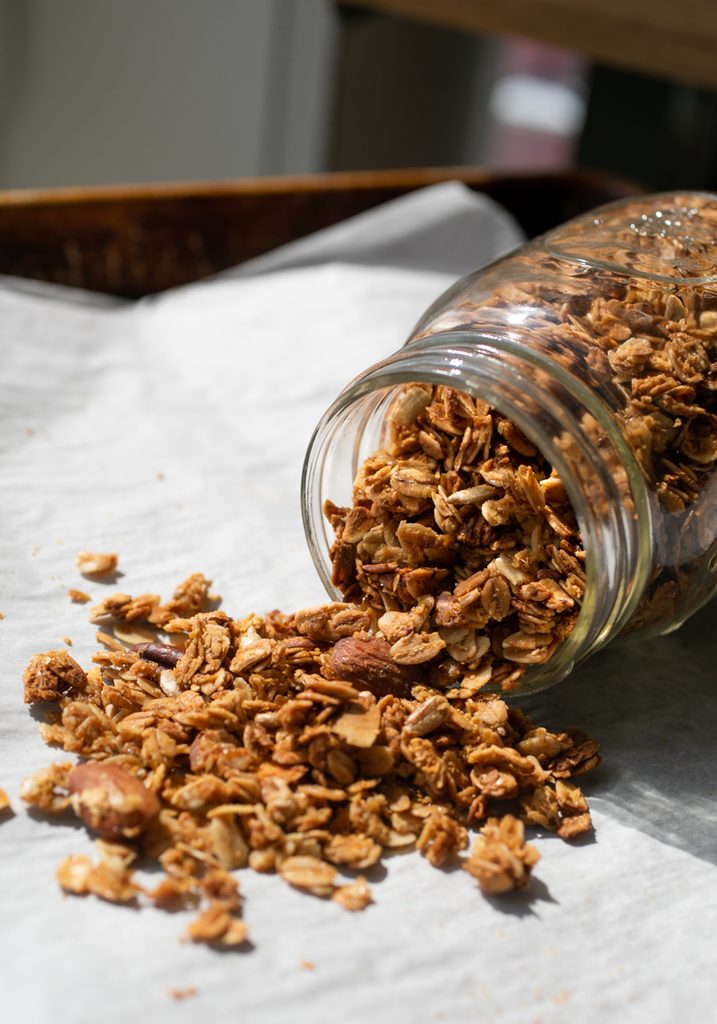
Ingredients you’ll need for this crunchy granola
- Rolled oats: Also known as old-fashioned oats, these are the best type of oats to use for a crunchy, hearty texture. Avoid quick-cooking oats or steel-cut oats as that will give you a different granola texture entirely.
- Assorted nuts: You can add whatever type of nuts you prefer to this granola–walnuts, pecans, pistachios, cashews, macadamia nuts (my fav), etc! My personal favorite blend is around 1/2 cup each of sliced almonds, pecans and halved macadamia nuts. Raw or already toasted nuts will work here–this granola bakes low and slow enough that the nuts won’t burn.
- Seeds: I love using sunflower, sesame or pumpkin seeds.
- Flaxmeal: I love adding flaxmeal to granola for its slightly nutty taste and extra fiber. If you don’t have flaxmeal on hand, you can swap in 3/4 cup of wheat germ (also deliciously nutty) instead. You can also omit this altogether and it won’t change the texture of the granola.
- Honey: This adds the signature flavor to the granola–you can substitute this with maple syrup or agave syrup if you prefer.
- Brown sugar: Adding brown sugar in addition to the honey leads to a slow caramelization and add amazing flavor to the granola.
- Olive oil: Just a little olive oil adds a little extra richness and helps crisp up the granola. You can substitute any neutral oil in place of olive oil, such as avocado oil, coconut oil, grapeseed oil, etc. You can also skip it altogether, though this will lead to a harsher crunch. See the notes in the recipe card below!
- Vanilla extract: You get a lot of flavor from the honey and brown sugar, so this isn’t strictly necessary–but I love adding a little vanilla to each batch.
- Kosher salt: Don’t skip this as it adds depth of flavor to your granola. You can reduce this slightly if you prefer less sodium, but to me, 1 1/4 tsp perfectly seasons this large quantity of granola.
- Optional: Shredded coconut: My original family recipe adds 1/2 cup of shredded coconut along with the flaxmeal before baking. I like adding it, but if you don’t have it on hand, feel free to omit it!
- Optional: Dry milk: This is an optional addition–adding 1/2 cup adds a little more calcium and protein to each batch, but it doesn’t make a big flavor or texture difference.
- Optional: Dried fruit: My family doesn’t typically add dried fruit to our granola, but dried cherries, figs, apricots, apples, golden raisins, craisins, or banana chips could all be great additions to add after baking.
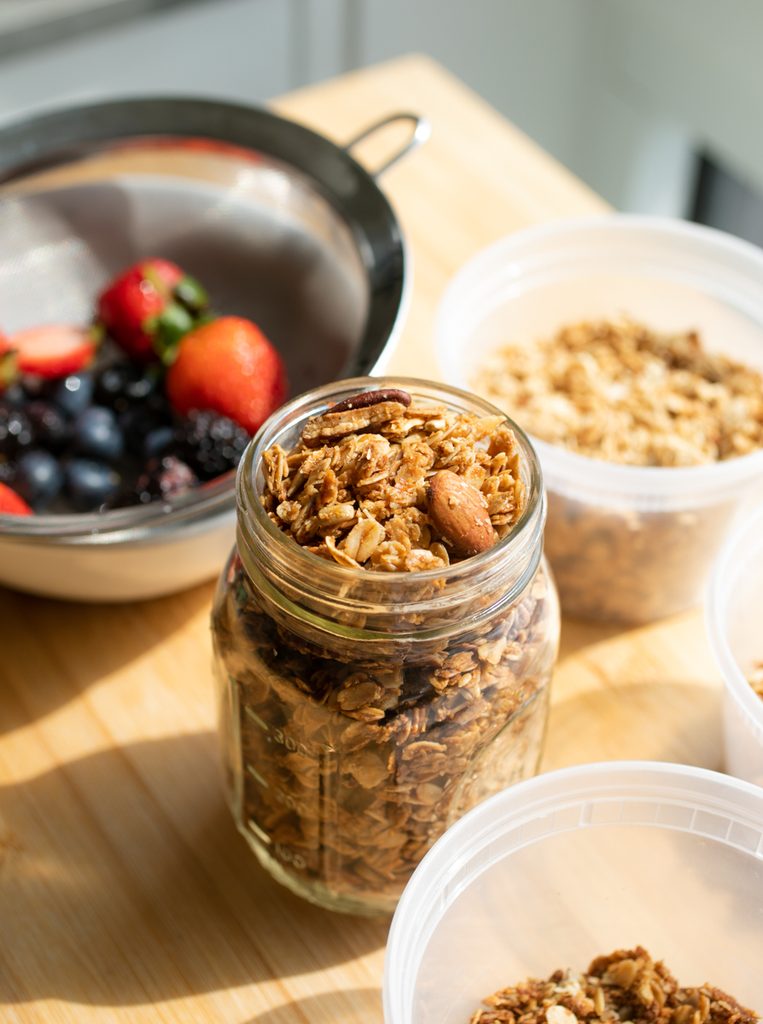
How to make crisp homemade granola
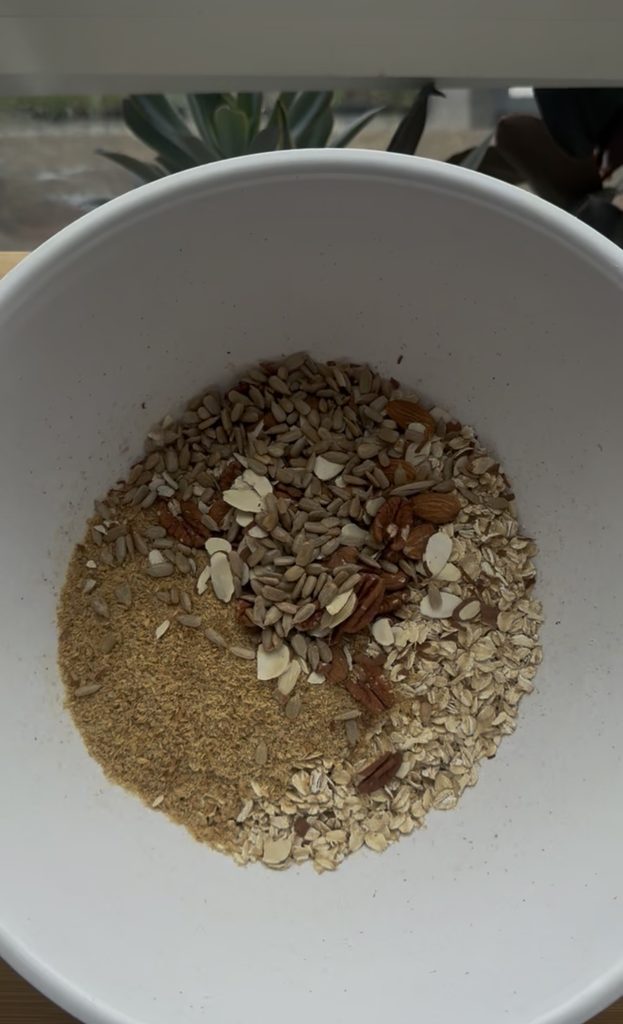
Step 1: Combine the oats, flaxmeal, nuts and seeds in a large bowl.
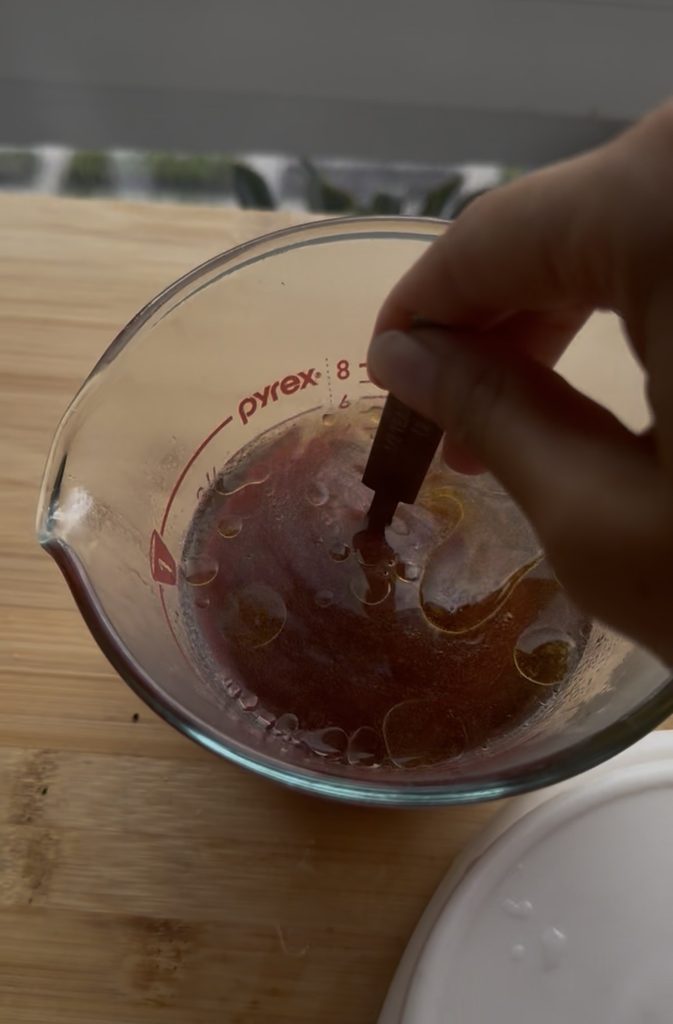
Step 2: Combine wet ingredients and microwave for 30-60 seconds to melt the sugar. Stir to combine.
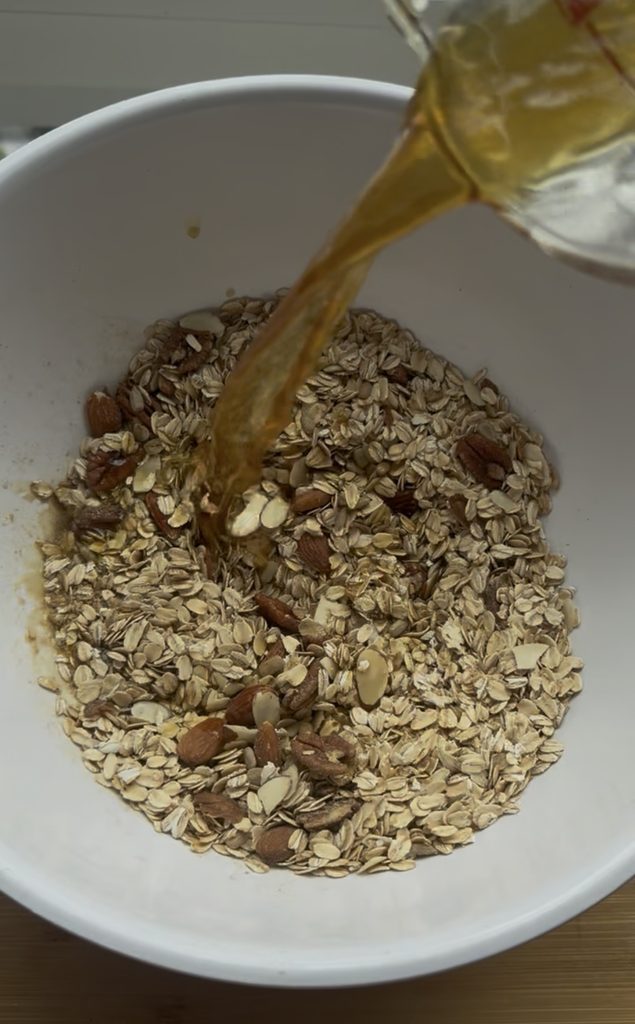
Step 3: Pour wet mixture over the dry ingredients and stir to combine evenly.
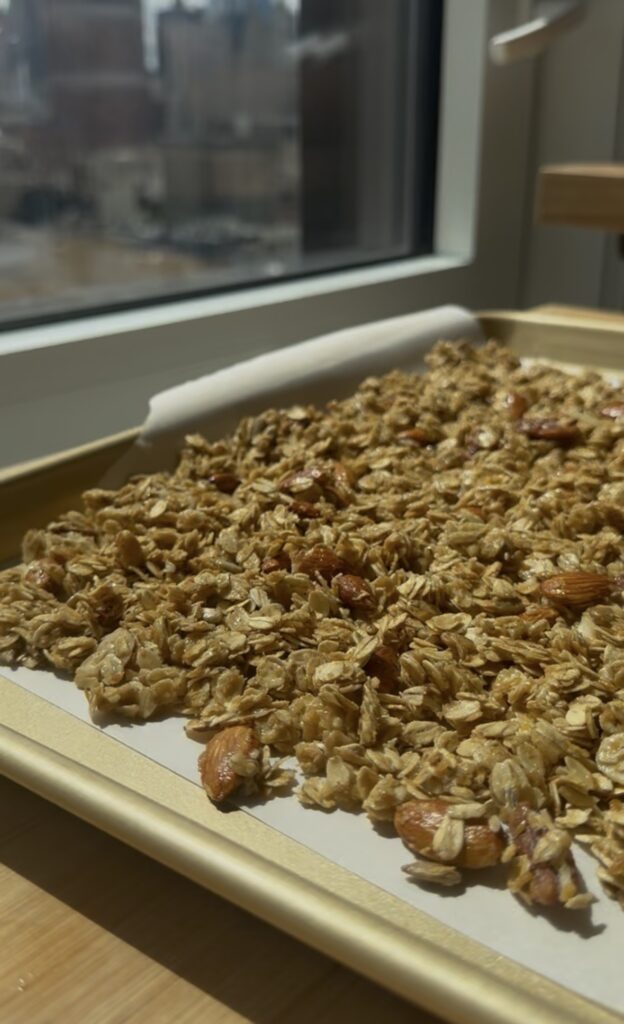
Step 4: Divide mixture evenly onto two parchment-lined half sheet baking pans. Bake at 300 for 45 minutes, then cool completely in the oven with the door closed or remove baking sheets from the oven and cool completely on the sheets. Granola will continue to crisp as it cools!
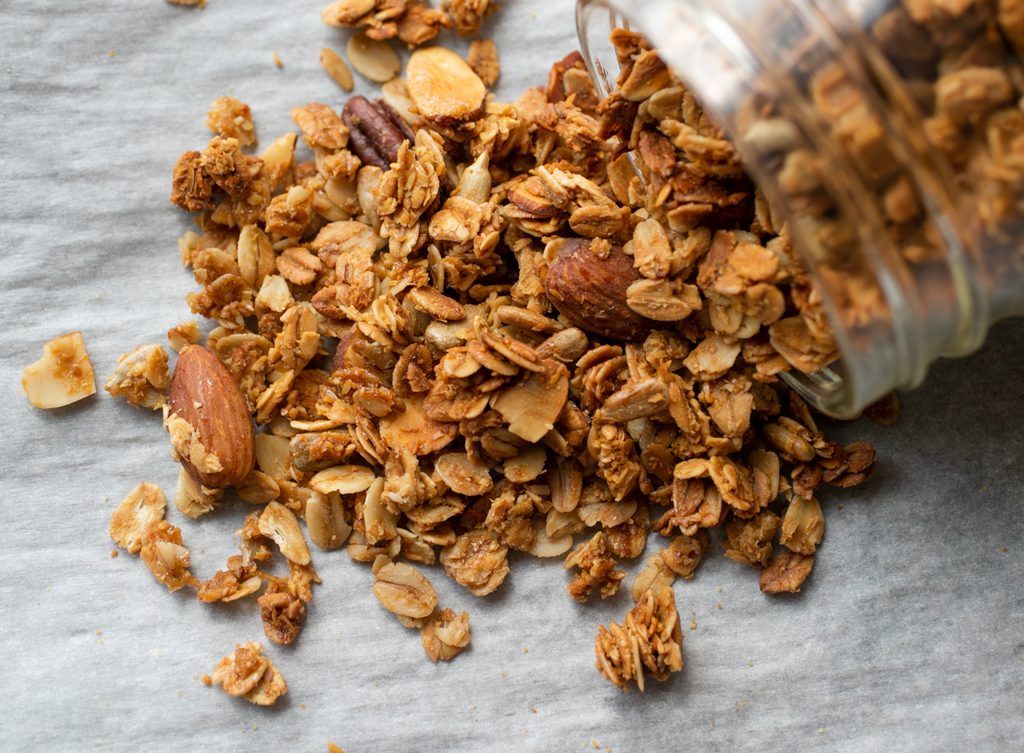
Why isn’t my granola not coming out crunchy?
Here are some common reasons why your granola might not be coming out crunchy:
- Not enough cooling time: Granola won’t feel crunchy when hot–when you take it out of the oven, it should feel slightly damp, but not wet. As it cools, it will harden and crisp up. Always let your granola cool completely on the baking sheets. As a bonus, I sometimes like to keep my granola in the oven after turning off the heat and let it continue to crisp up as the oven cools.
- Overcrowded pan: If you’re adding too much granola to a single baking sheet, a thick layer of granola can steam instead of bake, leading to soft granola that never truly crisps. I divide this granola recipe between 2 baking sheets specifically to allow for lots of surface area to allow the granola to toast evenly while baking.
- Excessive stirring: Constantly stirring the granola as it bakes not only breaks up any potential clusters but can also lead to inconsistent heat and lets moisture linger. I don’t stir my granola at all when baking, and it turns out perfectly crunchy!
A note on oil-free granola: One myth that I dispelled in my testing is that not enough oil can lead to soft granola. In researching granola recipes, I found a number of oil-free granola recipes that claimed to be just as crunchy.
After testing this recipe without oil, I found that you can still achieve a super crunchy texture! However, you’ll need to bake this specific granola recipe for 60 minutes instead of 45 minutes to get the crunchy texture. Personally, I found the no-oil granola to have a slightly harsher, shattering crunch than the pleasant golden crunch of the granola made with oil.
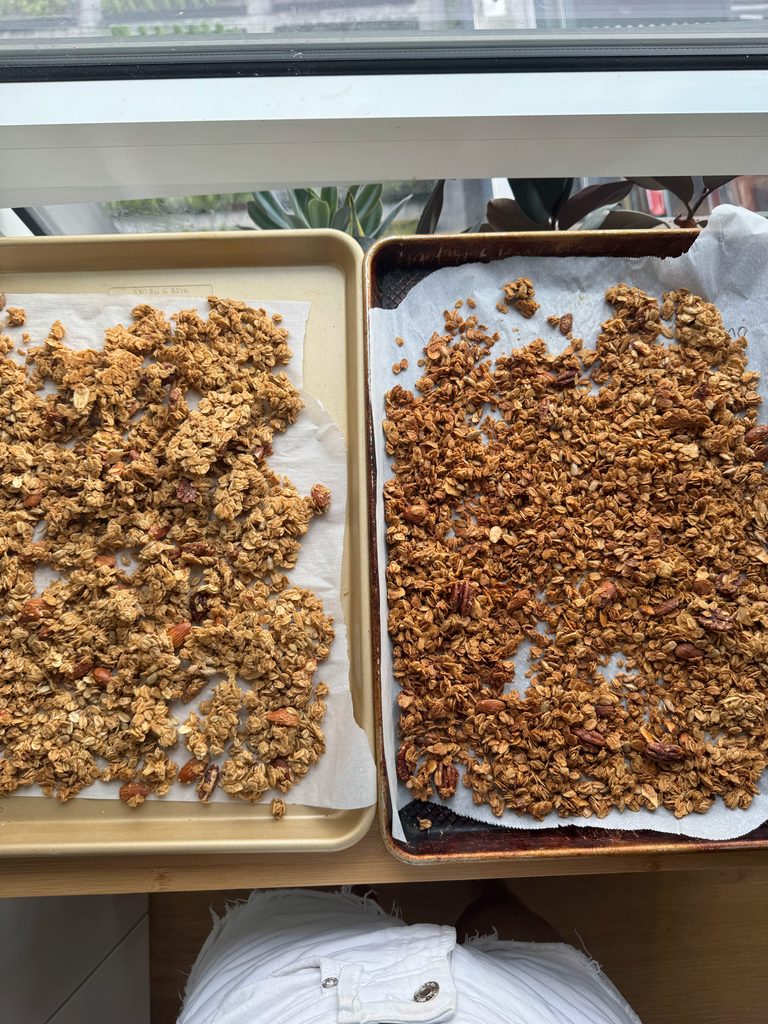
How to get the chunkiest granola
When testing this recipe, I tested a few different variations for maximum chunkiness and clusters.
- Adding flour: Per King Arthur, adding about 1/4 cup flour per 3 cups of oats can help the oats bind together in big chunks.
- My test wasn’t a perfect test–my older heavy-duty sheet pan tends to heat up quicker and promote more browning as you can see in the photo above. Meanwhile, the flour test ended up a lighter golden shade that wasn’t as tasty to me. While the flour batch did end up with more technical chunks, they were almost too big for my preference–more like small sheets of granola stuck together rather than satisfying little clusters. The flavor also felt lacking–the additional flour will definitely soak up some of the honey/brown sugar mixture. To me, this juice wasn’t worth the squeeze for this method–I’d prefer not to add extra starch to my granola recipe, and I don’t want to have to add more sweetener to improve the flavor just to get clusters.
- Soaking the oats in buttermilk: Per Serious Eats, soaking the oats in buttermilk prior to baking helps the tenderize the oats, which then become “porous and light when they bake.” It also promotes starch expression, which helps the mixture clump together. Stella notes that the acid also slows browning so the granola bakes evenly without burning.
- This method does indeed yield incredible clusters! (See buttermilk granola in the photo above.) However, the acid definitely does slow browning, so I had to bake this batch for an hour vs. 45 minutes to get a crisp texture. Once again, I found the flavor lacking in this batch–perhaps the buttermilk dilutes the flavor? I think this method has potential for great clustered granola, but once again–I’d prefer to not add additional sweetener to season the granola if not needed.
- Adding egg whites: Smitten Kitchen’s big cluster maple granola relies on egg whites for extra chunky granola. I’ve tried this method in the past and recall being pleased with the results. However, I didn’t test it for this recipe as I’d prefer to avoid leftover egg yolks.
Ultimately, my favorite version was actually the control batch with relatively few clusters and maximum flavor! When I’m eating a yogurt bowl, I prefer a more even distribution of granola and that’s exactly what you get with the control batch. However, if you want big clusters of granola, feel free to experiment with the above methods.
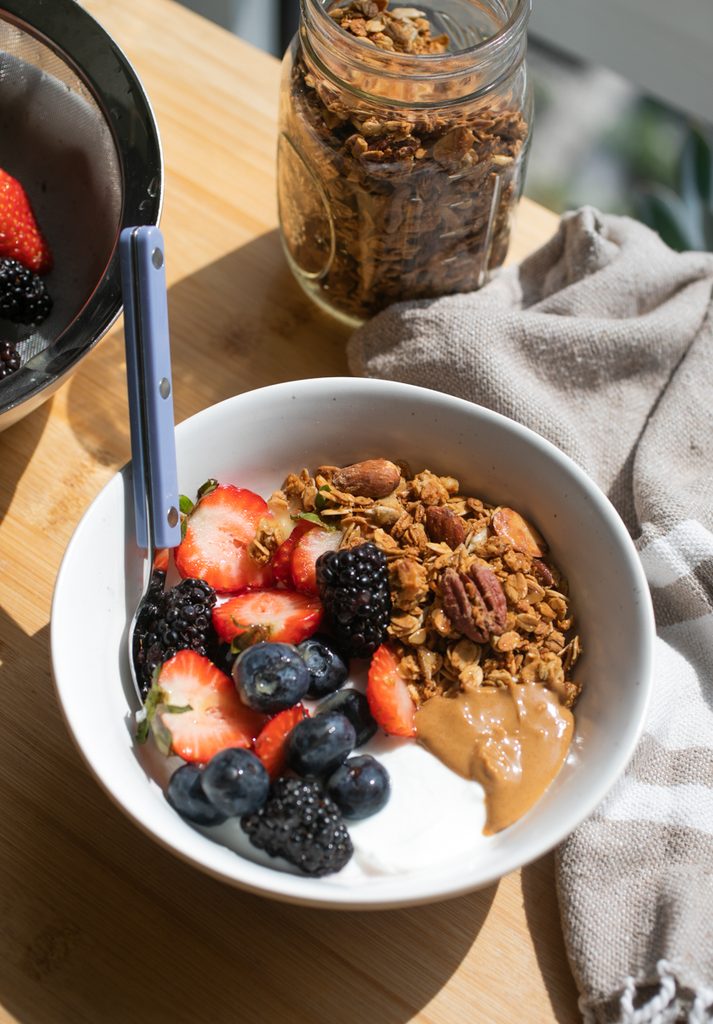
Storage and make ahead
Granola will keep in an airtight container for at least 2 weeks at room temperature. You can also store granola in freezer bags in the freezer for several months for maximum freshness.
Crisp Homemade Granola
Ingredients
- 6 cups rolled oats
- 1.5 cups assorted nuts sliced or chopped almonds, pecans, walnuts, macadamia nuts, etc.
- 6 tbsp assorted seeds sunflower, sesame, pumpkin, etc.
- 3/4 cup flaxmeal or wheat germ
- 1/2 cup shredded or flaked coconut, optional
- 1/2 cup nonfat dry milk, optional
- 1/2 cup honey
- 1/2 cup brown sugar
- 1/4 cup olive oil or neutral oil*
- 1/4 cup water
- 1 1/4 tsp kosher salt
- 1.5 tsp vanilla extract
- 3/4 cup dried fruit of your choice, optional
Instructions
- Preheat oven to 300 F and line two half sheet pans with parchment paper. In a large bowl, combine 6 cups rolled oats, 1.5 cups assorted nuts, 6 tbsp assorted seeds, 3/4 cup flaxmeal or wheat germ, 1/2 cup shredded or flaked coconut, optional and 1/2 cup nonfat dry milk, optional if using. Stir to combine.
- In a large glass measuring cup, combine 1/2 cup honey, 1/2 cup brown sugar, 1/4 cup olive oil or neutral oil*, 1/4 cup water and 1 1/4 tsp kosher salt. Microwave for 30-60 seconds and stir to combine until the sugar has mostly dissolved. Lastly, stir in 1.5 tsp vanilla extract if using (don't microwave this to avoid destroying flavor compounds).
- Pour honey mixture over the oat mixture and stir to coat evenly. Divide mixture evenly between the prepared baking pans. Bake for 45-50 minutes, stirring once halfway through to promote even browning, until granola is golden and fragrant. Granola may still feel a bit damp at 45 minutes, but will crisp up as it cools! Remove from oven and let cool completely in the pans. Optional: turn off the oven and let granola cool completely inside the oven with the door closed (I feel like this helps it make the granola even crispier, but you can skip this step and it will still turn out great).
- Once the granola cools, mix in 3/4 cup dried fruit of your choice, optional, if using. Store in an airtight container at room temperature for 1-2 weeks or store in the freezer for up to 3 months.

Leave a Reply