
These super tender maple-glazed pumpkin scones are like a cross between a scone with the flakiness and height of a biscuit. Incredibly moist, spiced and full of flavor–you’ll never think about a dry scone again!
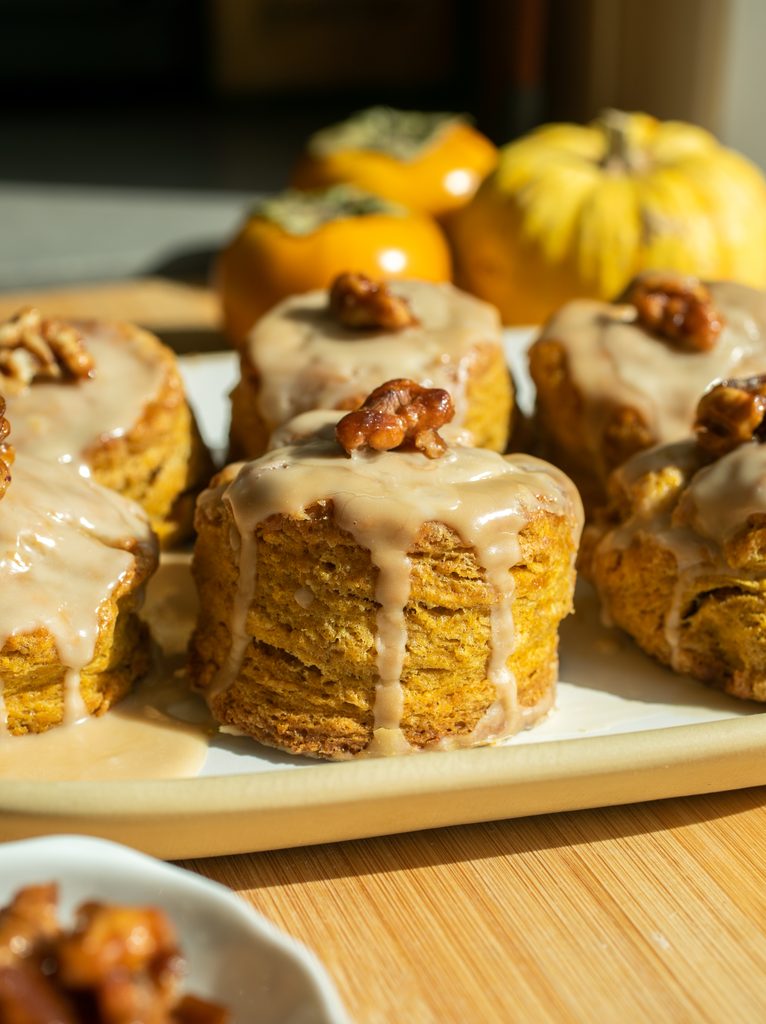
These pumpkin scones are inspired by the incredibly delicious scones from Librae Bakery. Although their pastry selection is always full of temptingly flaky croissants, springy focaccia and gooey cookies, I keep returning to their scones. They’re always so satisfyingly hearty–simultaneously moist, flaky and tender. This scone is inspired by their recipe but adapted for fall with pumpkin spice and a maple glaze!
How I adapted this recipe
Lucky for all of us, Librae recently came out with their official cookbook where you can find recipes for many different scone flavors: dill and feta, corn and blueberry, fig and fennel and carrot pecan cardamom. (Please consider adding it to your cookbook collection!)
I adapted my scones from their carrot scone with the following changes:
- Reduced the butter to 4 oz (for a single stick of butter)
- I tested these both with frozen grated butter (per the Librae recipe) and with diced cold butter that I incorporated with my fingers (like a pie crust). The frozen butter makes for more even, flaky layers, but I simply hate grating frozen butter. The diced butter method worked just as well–the layers weren’t as defined, but the scones were equally delicious. Both techniques are outlined in the recipe card; you can choose your own adventure.
- Swapped in blotted pumpkin puree instead of grated carrot
- Reduced the overall amount of liquid slightly to compensate for the pumpkin
- Swapped in cream for the buttermilk
- Used Greek yogurt instead of sour cream (the cream provides plenty of richness)
- Added a maple glaze + candied walnut
The result is one of my favorite scones I’ve ever made (though I also love these almond paste scones). The interiors are moist, flaky and tender and the orange hue hints at the pumpkin spice flavor which is perfectly accented with the maple glaze!
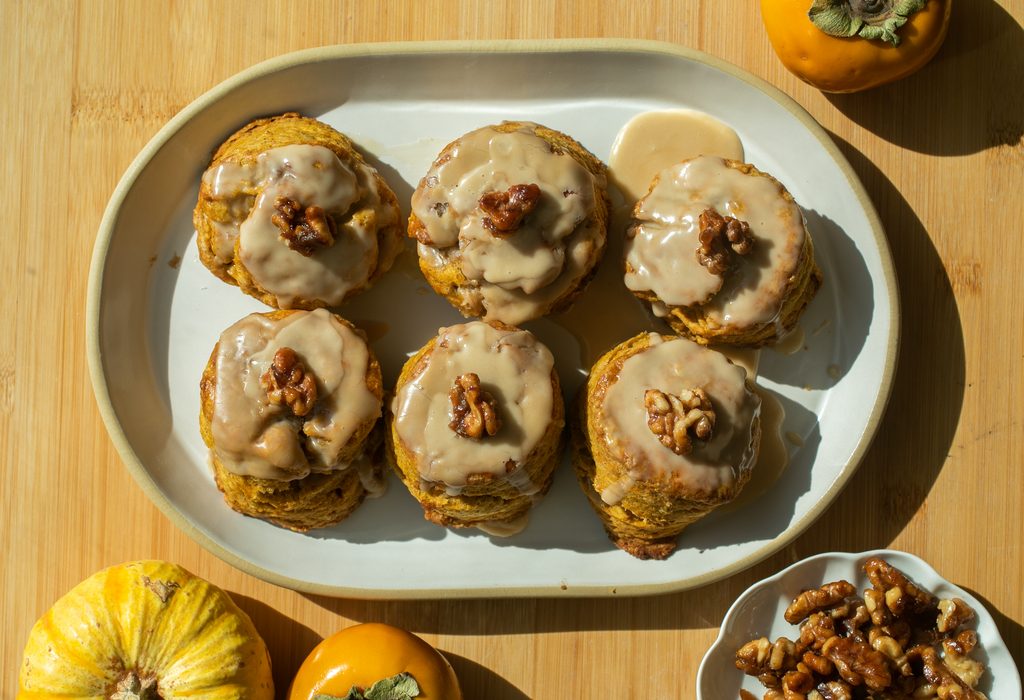
Ingredients
Below you’ll find some of the key ingredients for these pumpkin scones and potential ingredient substitutions.
- Salted butter: You can also use unsalted butter here and either add 1/4 tsp kosher salt to the recipe or simply omit the extra salt if you prefer a less heavily salted flavor profile.
- Pumpkin puree: You’ll need unsweetened, pure pumpkin puree (I often use Libby’s or Trader Joe’s brand). You’ll only need a partial can of pumpkin, so you can place the rest in a container and freeze it for later. If you already happen to have frozen pumpkin puree on hand, that’s ideal for this recipe–once thawed, use your fingers to press as much liquid as possible out of the puree (no need to blot!). If you only have fresh pumpkin puree, use a paper towel to blot or gently squeeze out as much moisture out as possible.
- Greek yogurt: While full-fat Greek yogurt (or the next best substitute, sour cream) is ideal, we’re using such a small amount that you can also swap in a lowfat or nonfat Greek yogurt or regular yogurt.
- Heavy cream: Heavy cream both moistens the dough and adds extra fat. Heavy crema or whipping cream work here.
- Light brown sugar: Feel free to swap in dark brown sugar if that’s all you have. Granulated sugar will also work in a pinch.
- Candied walnuts: Candied walnuts are easy to make in 5 minutes and add a really delightful crunchy accent to these scones! These are a totally optional garnish.
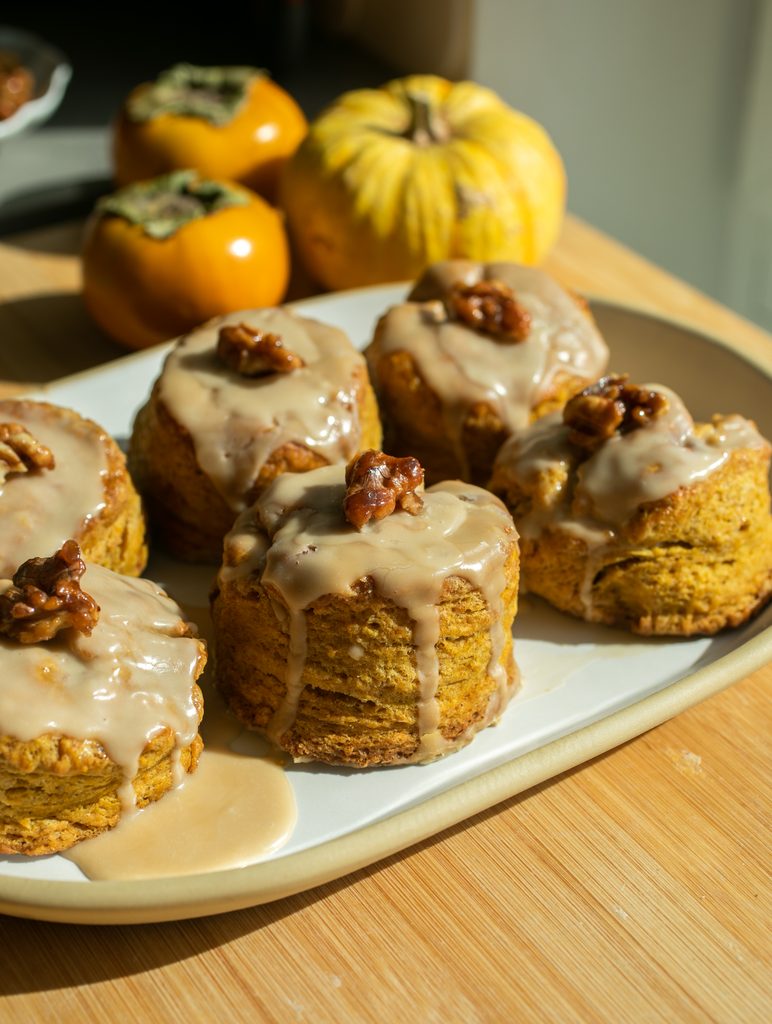
How to make these maple glazed pumpkin scones
These scones do require a 30-60 minute chill for the dough and then a 4 hour to overnight chill before baking, so please prepare accordingly. I like to make the dough the day before I want to bake them off.
As I noted in the adapting section, you have two choices for incorporating butter into these scones: grate frozen butter for the cleanest, flakiest layers, or cut in cold, diced butter using your hands or a pastry cutter (my preference) for slightly less defined layers. Both will taste amazing.
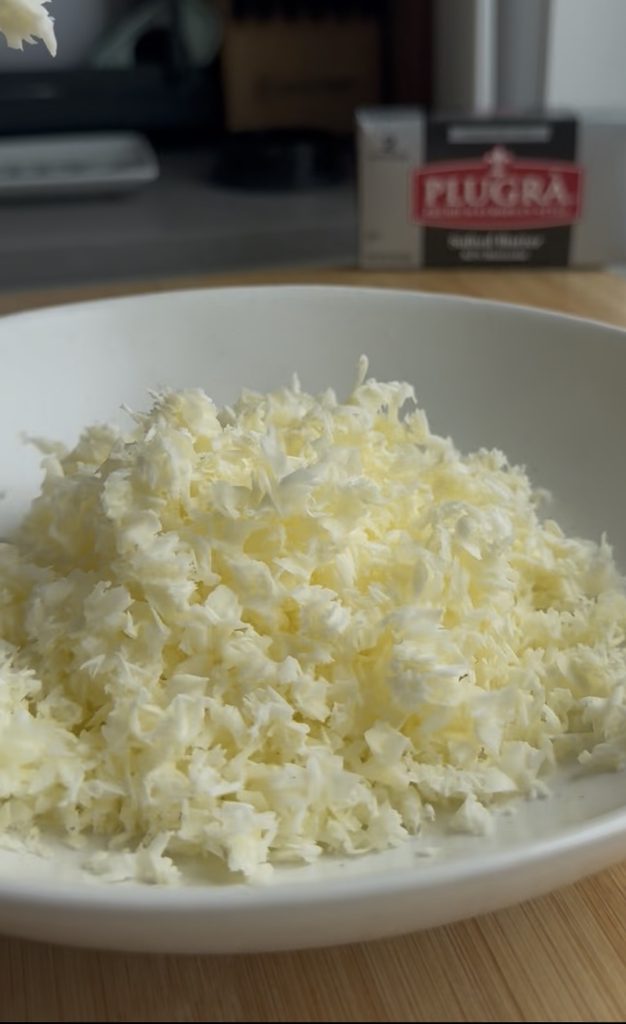
Step 1: Grate frozen butter into a bowl and place in the freezer while you prep the rest of the recipe. Alternatively, dice cold butter into a bowl and place in the freezer.
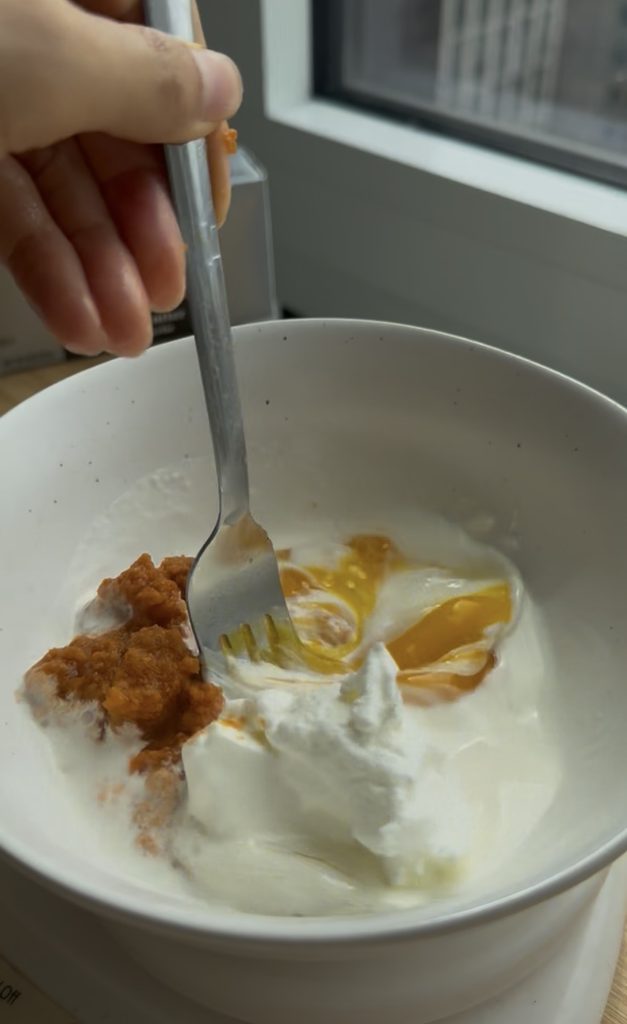
Step 2: Whisk together the wet ingredients: pumpkin puree, cream, Greek yogurt and egg.
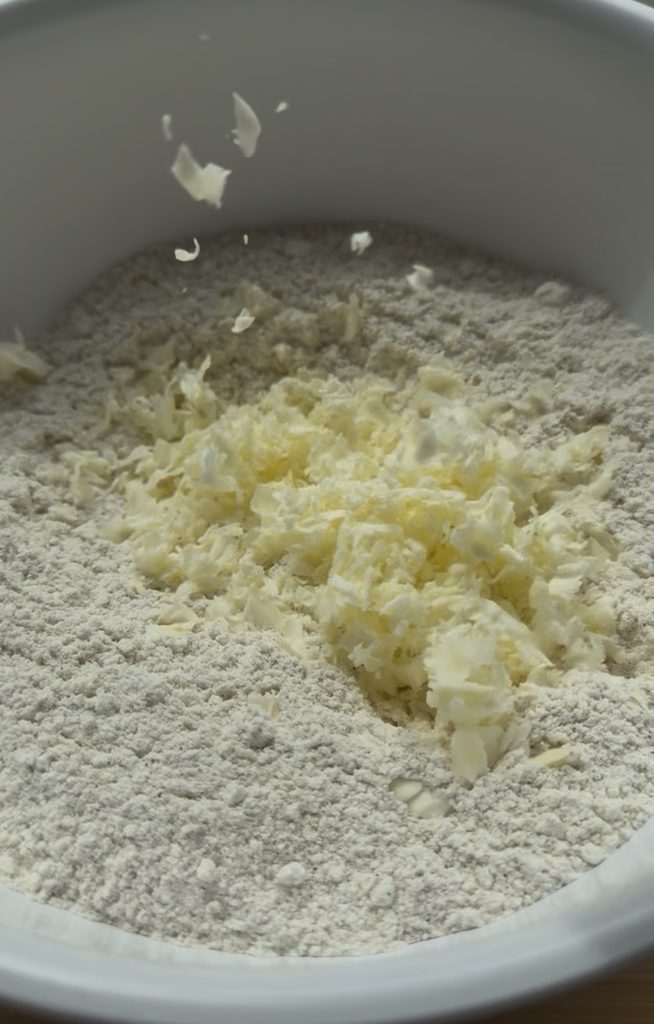
Step 3: Whisk together the flour, brown sugar, leaveners and salt in a large bowl. Add the grated butter and toss quickly with your hands to evenly distribute. (Alternatively, add the diced butter and use your fingers or a pastry cutter to cut the butter into the dough until you have evenly moistened crumbs).
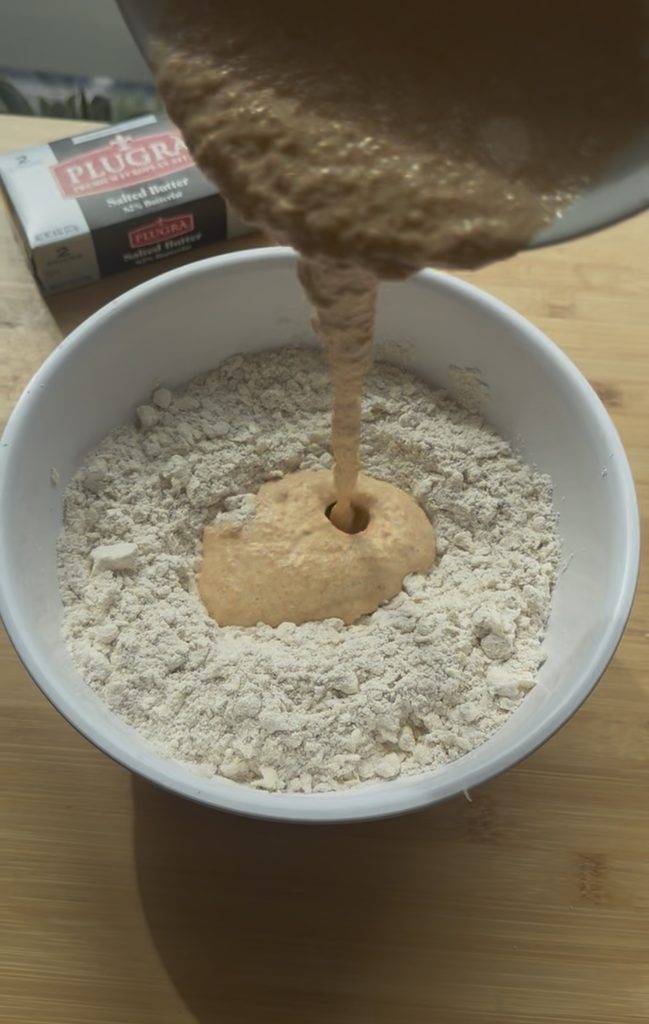
Step 4: Stir in the pumpkin mixture into the flour mixture until a rough, shaggy dough starts to form. Lots of stray dry bits are okay here.

Step 5: Gather the dough together, folding it over onto itself until it comes together into a rough dough. Shape into a rectangle, wrap in parchment paper or plastic wrap and refrigerate for 30-60 minutes.
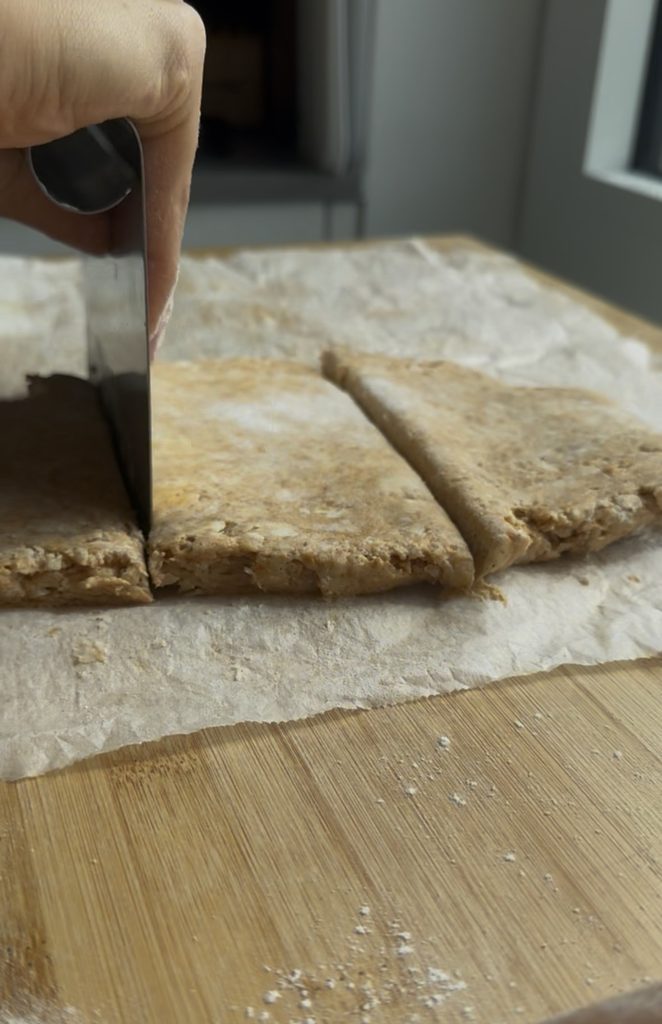
Step 6: Roll out the chilled dough into a rectangle about 3/4″ thick. Cut in three equal pieces and stack them on top of each other. Roll out into another rectangle about 3/4″ thick.
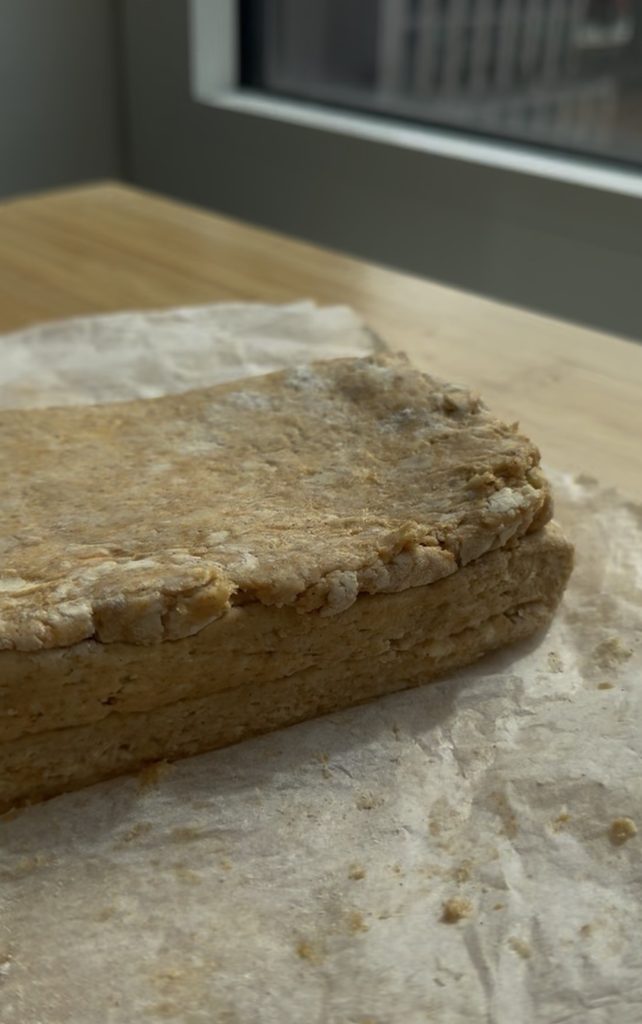
Step 7: Repeat step 6 (this creates layers in the dough). Roll out the dough to a roughly 6×8″ rectangle about 1″ thick.
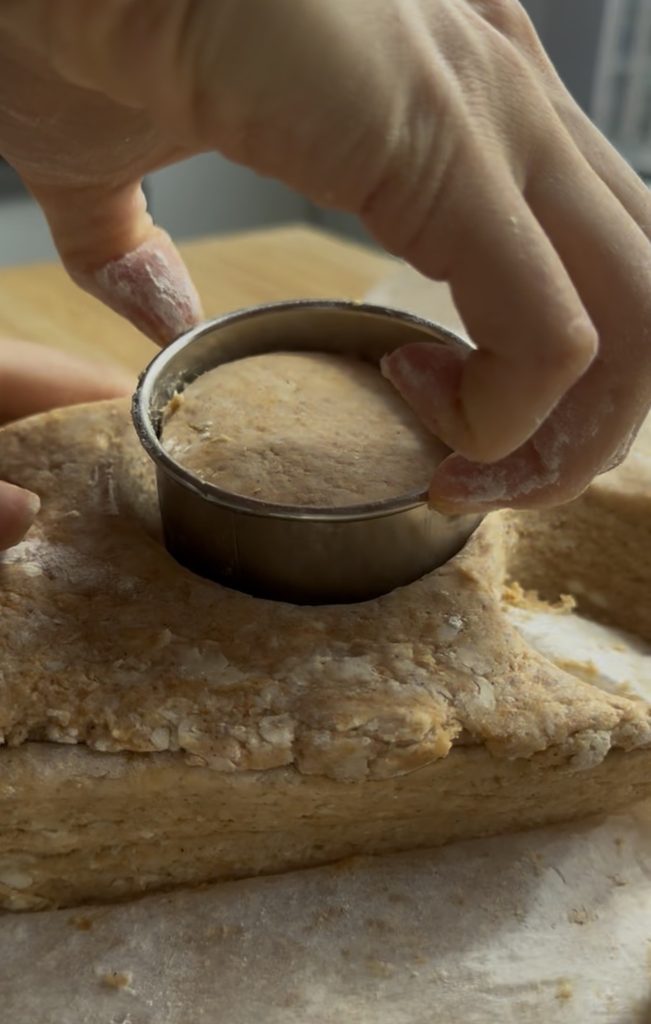
Step 8: Use a biscuit cutter of choice (I used a 2 3/4″ cutter) to stamp out as many biscuits as possible (alternatively: you can slice the dough into squares or triangles). Quickly re-roll any scraps and continue cutting out biscuits until you’ve used up all the dough (ball up any extra scraps to make a tiny chef’s treat for yourself).
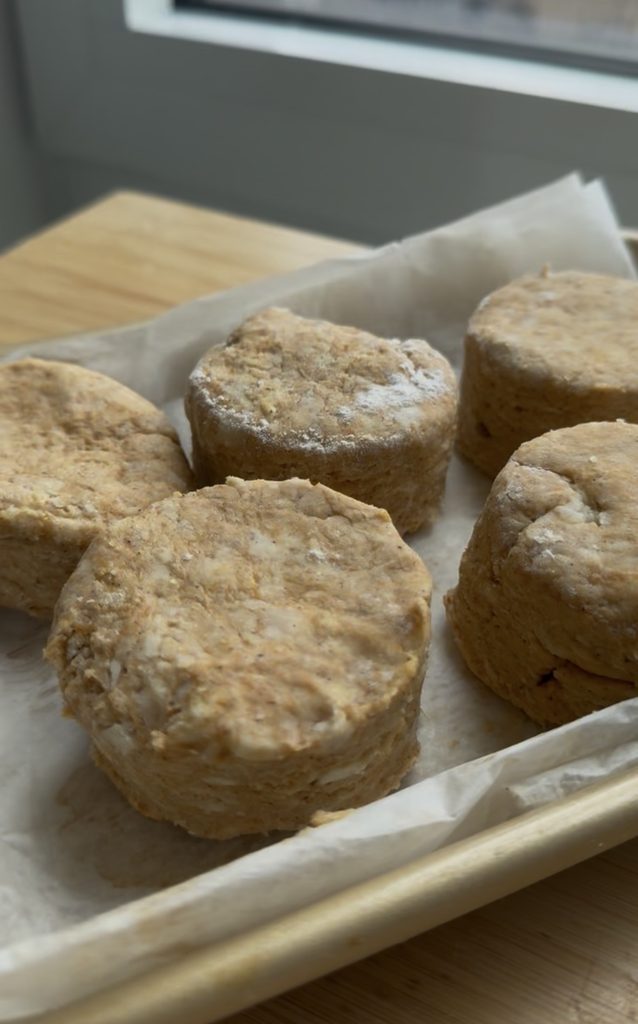
Step 9: Place cut out biscuits on a parchment-lined baking tray or plate and freeze for at least 4 hours or overnight.
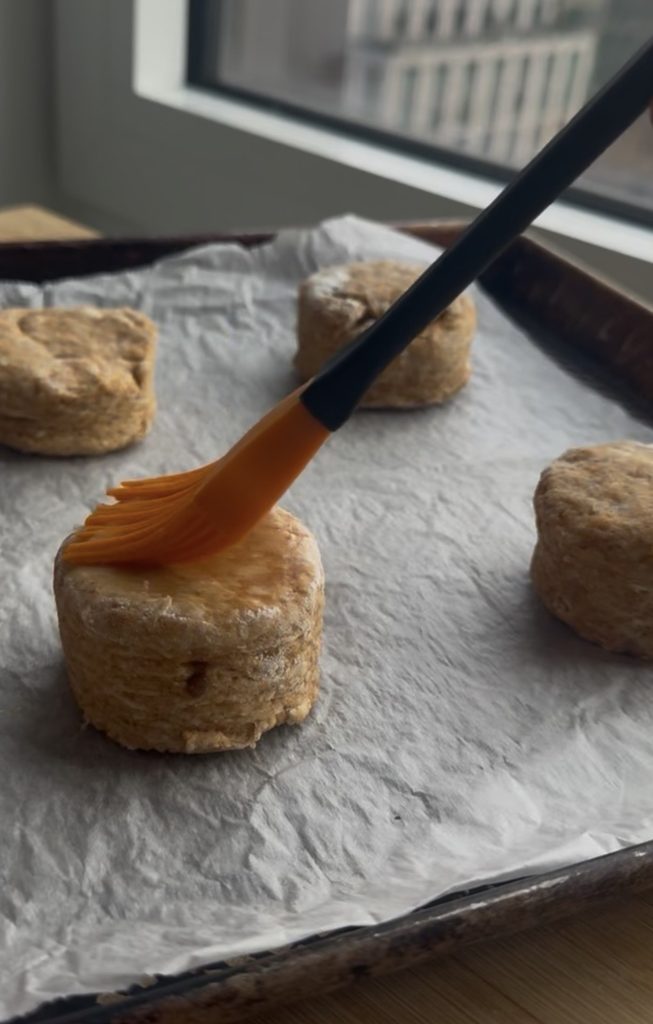
Step 10: Preheat oven to 400 F. Place frozen scones directly on a parchment-lined sheet at least 2″ apart and brush with egg wash.
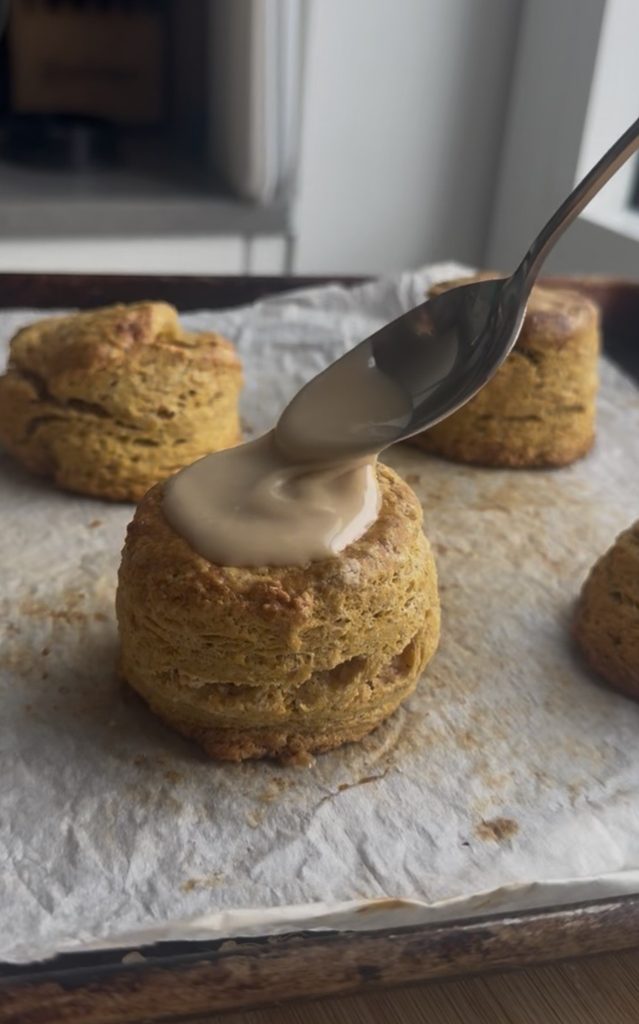
Step 11: Bake for 30-35 minutes or until scones are puffed, fragrant and golden brown around the edges. Let cool for at least 5 minutes, then top with the maple glaze.
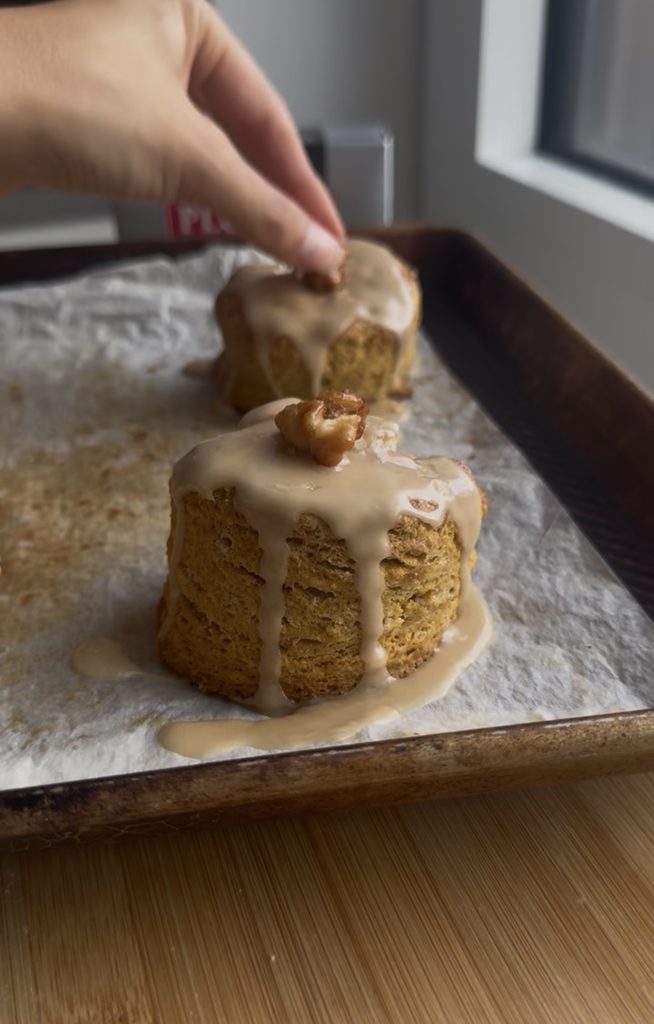
Step 12: Top each scone with a candied walnut (optional) and flaky salt. Best enjoyed the day of baking!
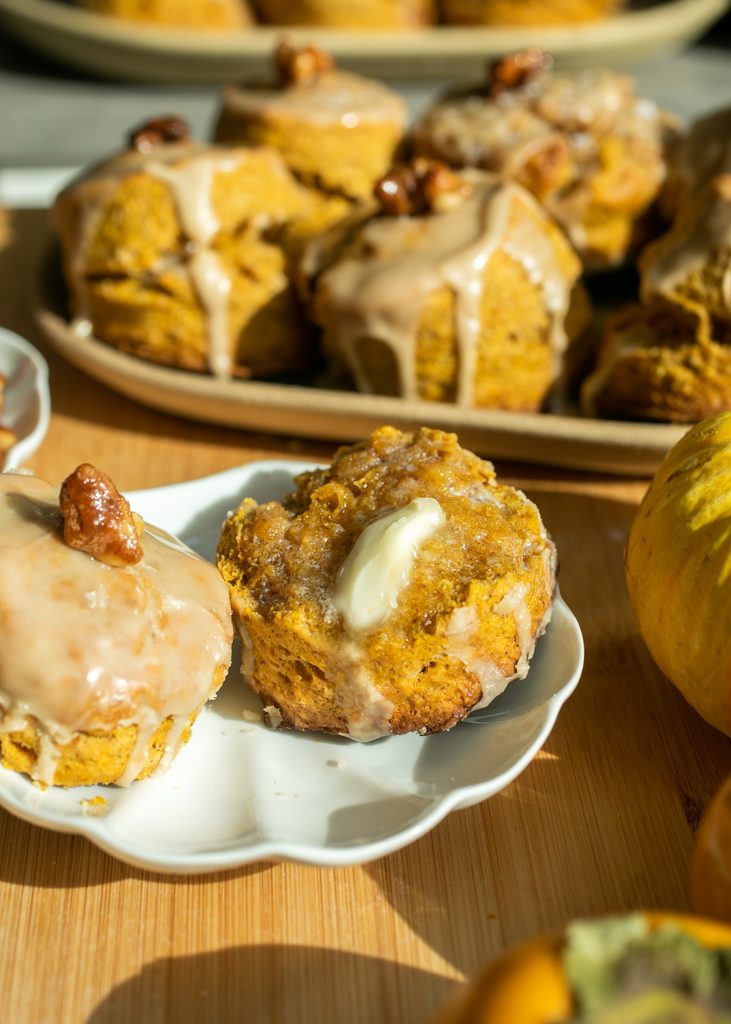
Make ahead and storage
Because these scones require an overnight freeze, they’re ideal for making ahead. You can freeze the cut out scones uncovered on a parchment-lined sheet for at least 4 hours, then store the flash frozen scones in a freezer-safe bag for at least 3 weeks before using. Bake directly from frozen.
Store leftover scones in an airtight container at room temperature for at least 3 days. These scones are best enjoyed the day of baking, though a quick microwave for 10-15 seconds will revive that moist, fresh-baked texture on the second or third day.
I recommend only garnishing scones with the candied walnut if you plan on enjoying them that same day (otherwise the walnut can cause the glaze to melt overnight).
Trying to use up the rest of your can of pumpkin? Try these pumpkin cottage cheese pancakes, this pumpkin spice mini sheet cake, chewy pumpkin cookies, or one of the recipes from the pumpkin cookie bake off!
Pumpkin Scones
Ingredients
Pumpkin scones
- 8 tbsp (113 g) salted butter, cold or frozen*
- 6 tbsp (90 g) pumpkin puree*
- 3 tbsp (45 g) full-fat Greek yogurt or sour cream
- 3 tbsp (45 g) heavy cream
- 1 (50 g) large egg
- 2 cups + 2 tbsp (260 g) all-purpose flour
- 1/4 cup (53 g) light brown sugar
- 1 tsp (4 g) baking powder
- 1/2 tsp (2 g) baking soda
- 1/2 tsp (1.33 g) kosher salt
- 1 (1) egg, beaten for egg wash (optional)
Maple glaze
- 2/3 cup (80 g) powdered sugar
- 2 tbsp (40 g) maple syrup
- 1/2 tbsp (7.5 g) water, optional
- flaky salt, optional
- candied walnuts, optional
Instructions
- Quickly dice or grate 8 tbsp (113 g) salted butter, cold or frozen* into a bowl, then place in the freezer while you assemble the rest of the ingredients.
- In a smaller bowl, add 6 tbsp (90 g) pumpkin puree* and blot it with a paper towel to absorb as much of the moisture as you can. Add 3 tbsp (45 g) heavy cream, 3 tbsp (45 g) full-fat Greek yogurt or sour cream and 1 (50 g) large egg and whisk to combine until smooth.
- In a large bowl, whisk together 2 cups + 2 tbsp (260 g) all-purpose flour, 1/4 cup (53 g) light brown sugar, 1 tsp (4 g) baking powder, 1/2 tsp (2 g) baking soda and 1/2 tsp (1.33 g) kosher salt.
- Add the frozen grated butter into the flour mixture and quickly toss with your hands to evenly distribute it. (Alternatively: add the cold cubed butter to the dough and use your fingers or a pastry cutter to smash the butter into the flour until you have a coarse meal, working as quickly as possible to avoid overworking the dough.) Use a spatula to mix the pumpkin mixture into the dry ingredients just until a shaggy dough starts to form.
- Dump the dough onto lightly floured surface and gather the dough together, folding the dough over on itself and incorporating any stray dry bits just until a rough dough forms (again, try to work quickly and avoid overworking the dough). Form into a rectangle, wrap in parchment or plastic wrap and refrigerate for 30-60 minutes.
- Once chilled, roll out dough into a 3/4" thick rectangle. Cut into 3 equal rectangles and stack them on top of each other. Roll out into another rectangle, again about 3'4" thick, and repeat the cutting and stacking.
- Roll dough out to a roughly 6×8" rectangle. Cut into your desired shapes: I used a 2 3/4" biscuit cutter, but you can cut them into ~8-9 squares or triangles. Place cut out scones on a parchment-lined plate or baking sheet and chill for at least 4 hours to overnight.
- When ready to bake, preheat oven to 400 F and line a baking sheet with parchment paper. Place frozen scones on the baking sheet about 2" apart and brush with 1 egg, beaten for egg wash (optional), if using (you can also use a bit of heavy cream or milk instead). Bake for 30-35 minutes, until puffed, fragrant and golden brown around the edges. Let scones cool for at least 5 minutes before topping with glaze.
Maple glaze
- In a small bowl, whisk together 2/3 cup (80 g) powdered sugar and 2 tbsp (40 g) maple syrup. Add 1/2 tsp of water at a time until you have your desired consistency. Glaze the top of the scones while warm and top with flaky salt or a candied nut, if desired.

Leave a Reply